PDF Generator – How to Convert WordPress form to PDF
PDF Generator feature helps you to send the PDF attached file of your form to assigned emails. You will be able to choose which fields would appear in the PDF file.
You can send quickly online contracts, commercial invoices, confirmations, registration forms, or any documents in PDF format for Website visitors via a WordPress form.
Step by step to set up PDF Generator action
Essential Initialization
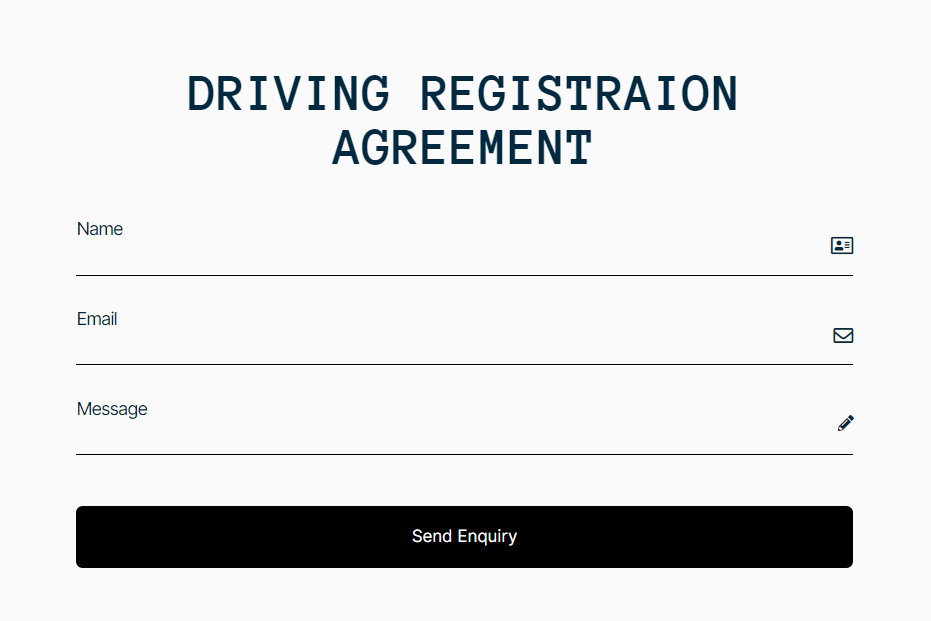
Create your own form by Piotnet Forms. You can use one of our available templates to test this feature first.
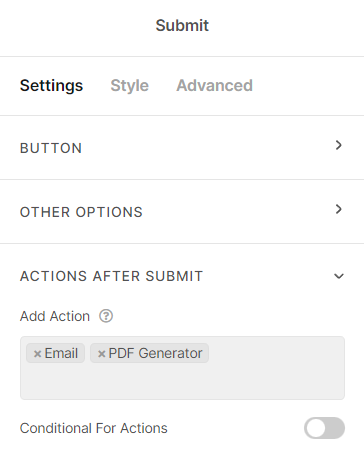
Click on “Submit Button” → “Settings Tab” → “Action After Submit” → add “Email” and “PDF Generator” actions
Immediately, two action control sections of Email and PDF Generator display in “Submit button Settings” (right below the “Action After Submit”)
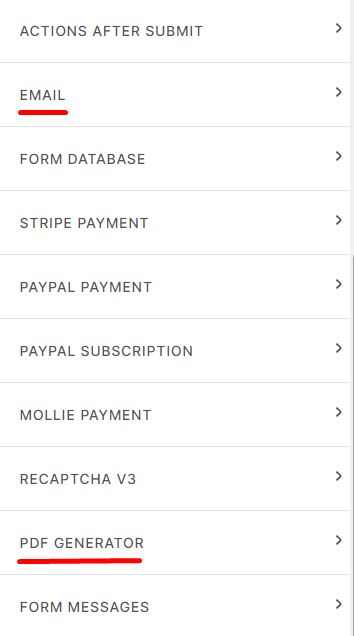
→ Click on the Email control section, then customize your content and relevant elements
The PDF file will be attached to the receivers’ email addresses once you’re completely set up with the PDF Generator feature.
In case, you apply both “Email” and “Email 2” actions and desire to only attach a PDF file to 1 email action, you can disable it by this function in the Email/Email 2 control.

For example:
First Email action: attach a Registration PDF file to your email.
Email-2 action: a confirmation mail without a PDF attachment file.
→ After that, click on the PDF Generator control section and start configuring it.
Default Settings (Basic Level)
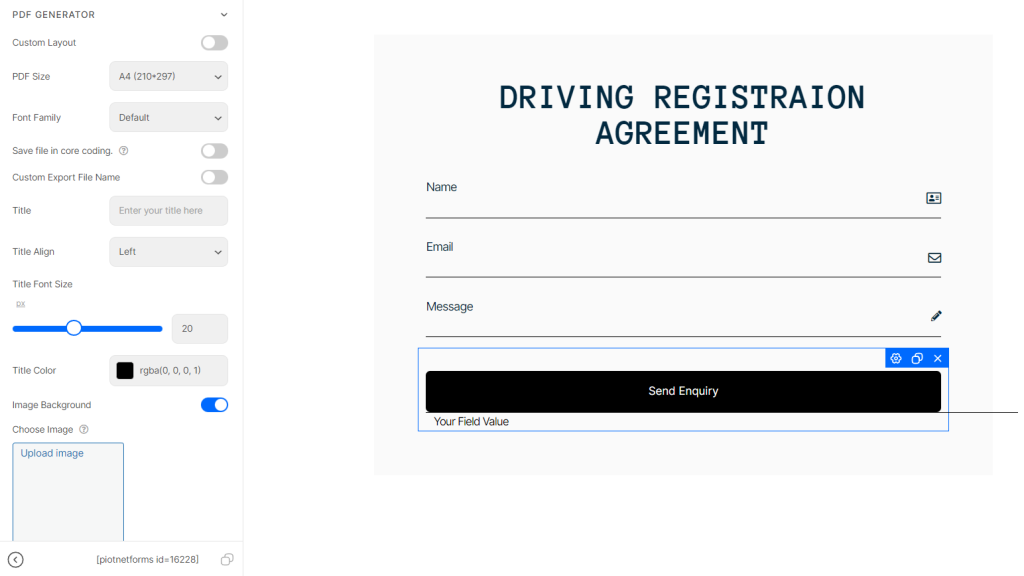
By default, this feature supports 5 PDF format sizes:
- A3 paper measures 297 x 420 mm
- A4 paper measures 210 x 297 mm
- A5 paper measures 148 x 210 mm
- Standard Letter with 215.9 x 279.4 mm
- Legal (215.9 x 355.6 mm)
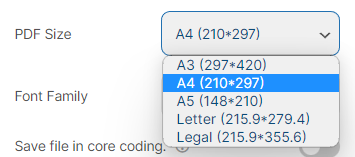
In case you want to save this file in core coding for other purposes, you can trigger this function. The PDF file will be store in: “wp-content/uploads/piotnetforms/files”

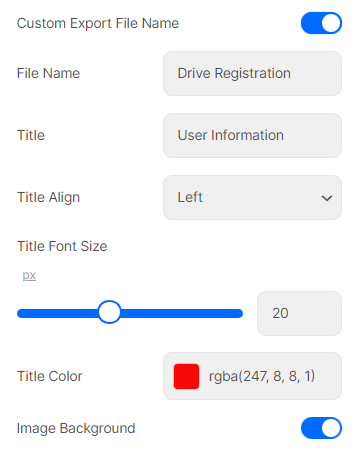
To customize the PDF file name, you can trigger the function “custom export file name”
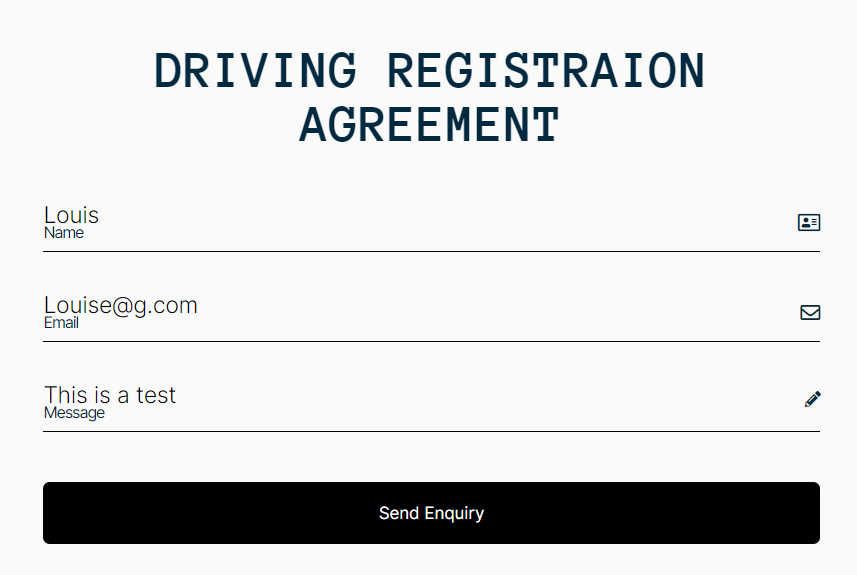
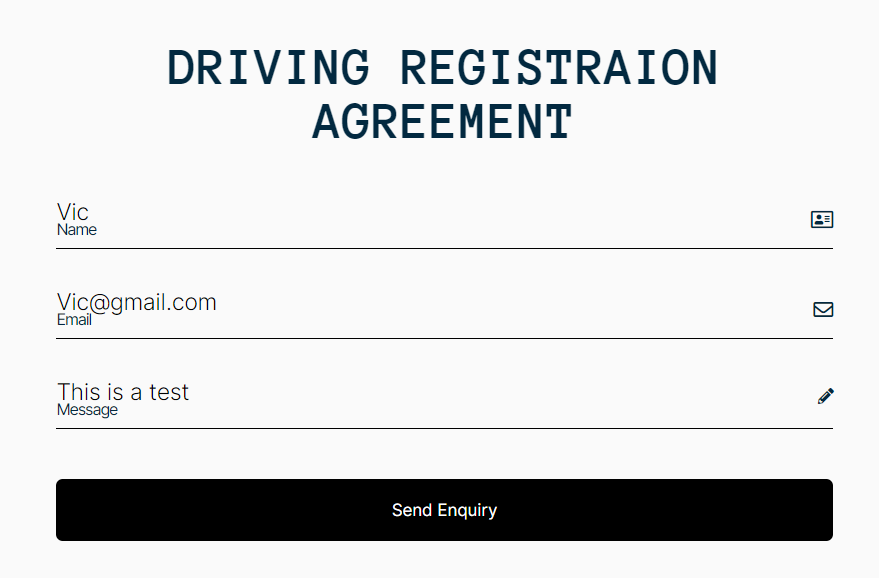
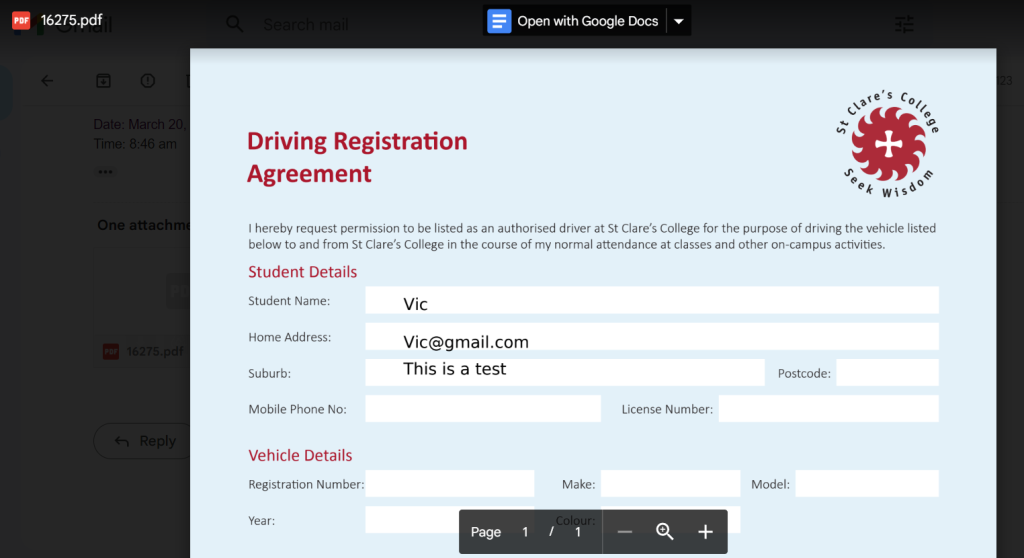
For illustration, I submitted a test form and got a result in the email below

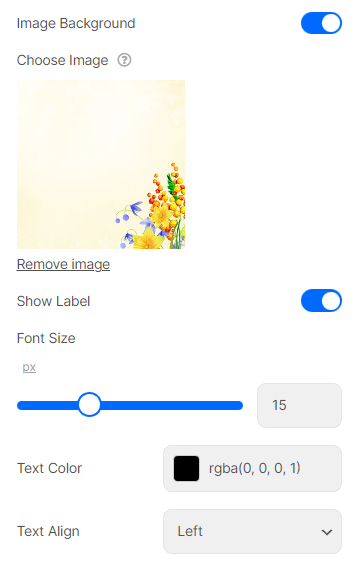
You are able to update an Image for the Background, this function just works with jpg format
Show label: to show the labels of your fields on a PDF file
There are some functions to customize entry data field styles: Font Size, Text Color, Text Align.
For the next instance, I kept submitting a test with an uploaded image background
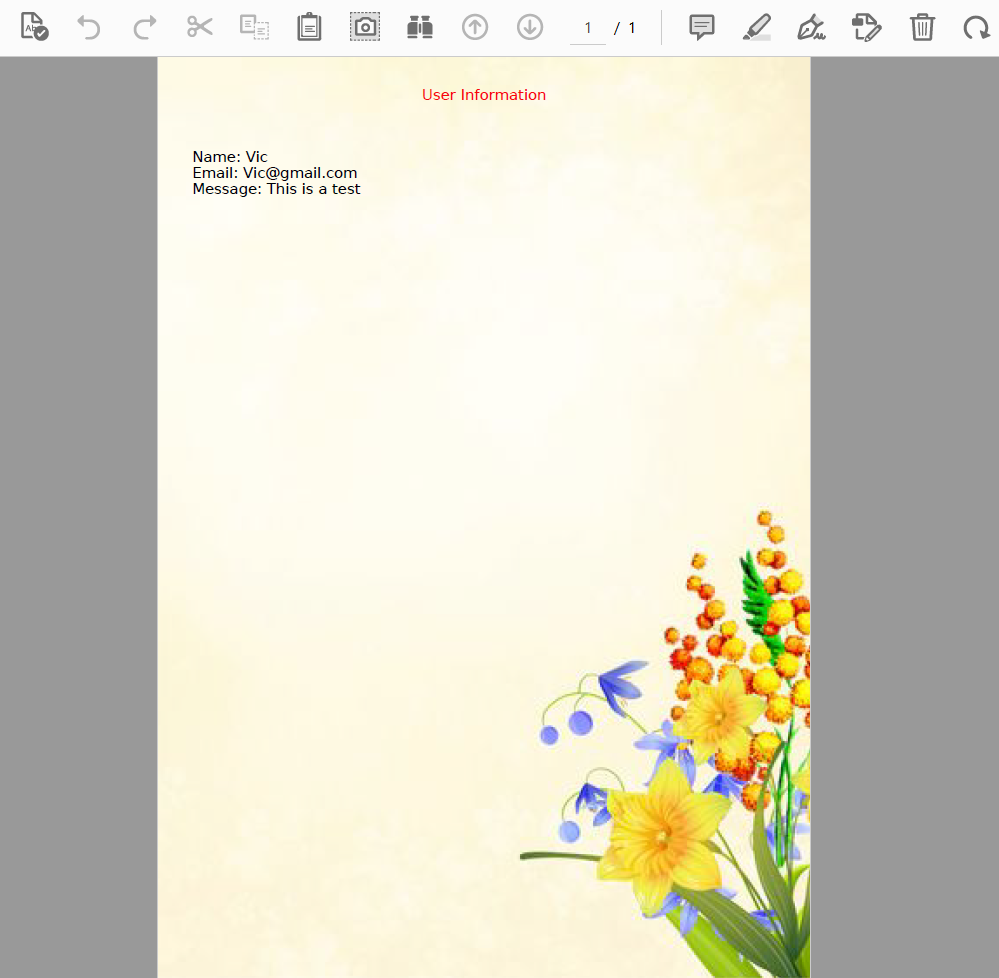
Summary:
- You can upload an image to be a background of the PDF template.
- By default, all entry fields in your form will be displayed in a top-down sequence.
- If your form is long enough, the PDF feature will automatically break into multiple pages.
Custom Layout (Advanced Settings)
In case, you desire to customize the PDF background with an available PDF template and arrange the field locations in your PDF file.
→ Trigger “Custom Layout”
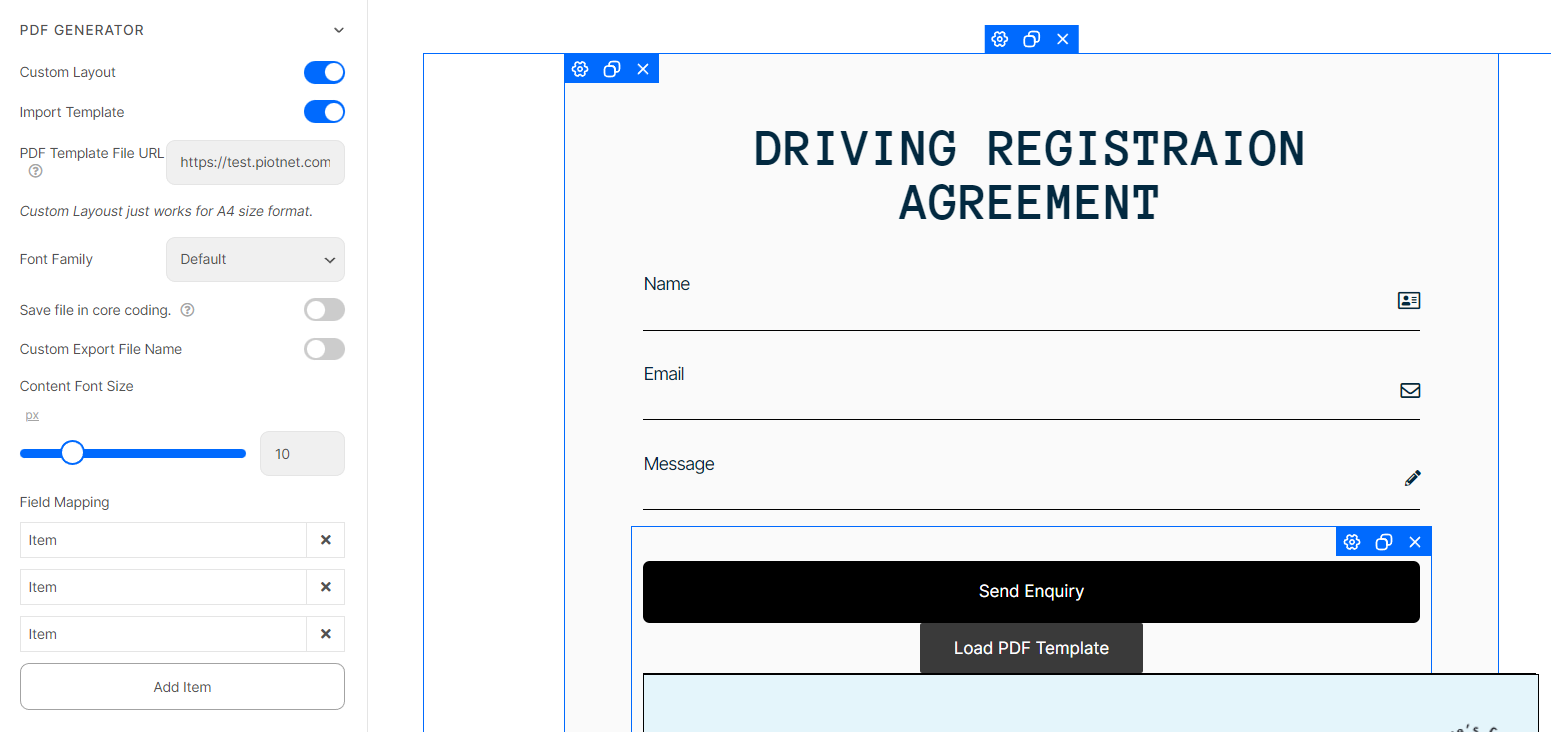
PDF Template File
→ Trigger “Import Template” to apply your available PDF Template File
There are two important principles for your PDF Template File:
- This function currently works with versions under 1.5. Maybe your PDF Template File is not appropriate for the version of Piotnet. You may check your version here and convert the PDF file to our required version by using this tool.
- This function just works for only 1 PDF page with A4 size format
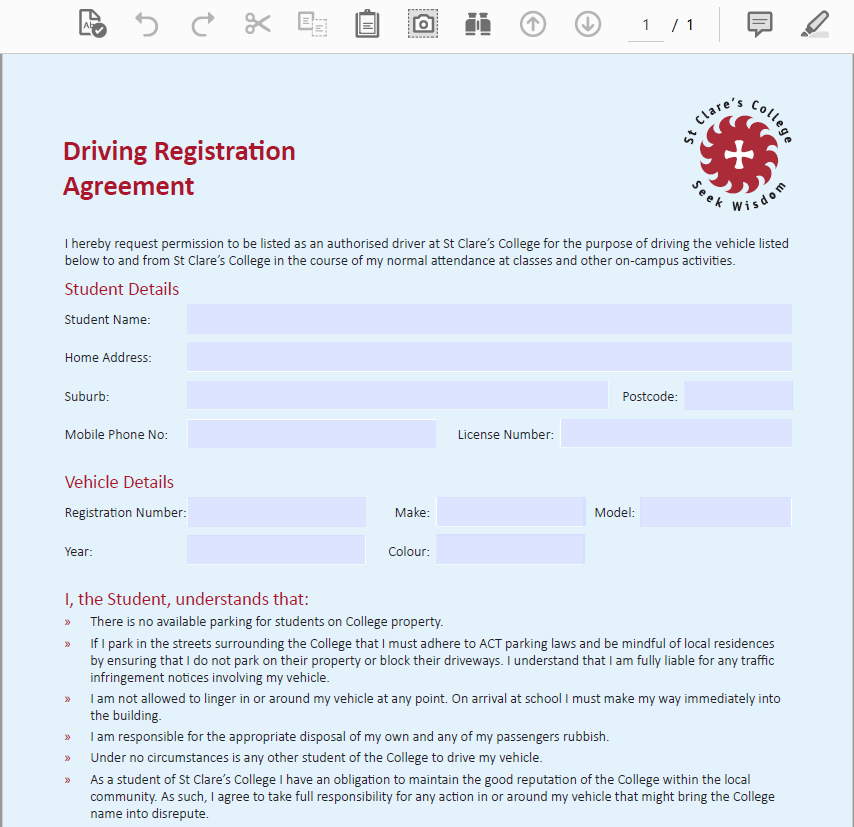
Once your PDF file meets the standard principles above, please upload it to your media and get the File URL

Then embed the uploaded PDF file URL to “PDF Template File URL”

Field Mapping Controls
If Custom Layout is enabled in the settings section, PDF Generator will display a menu of Field Mapping Controls.
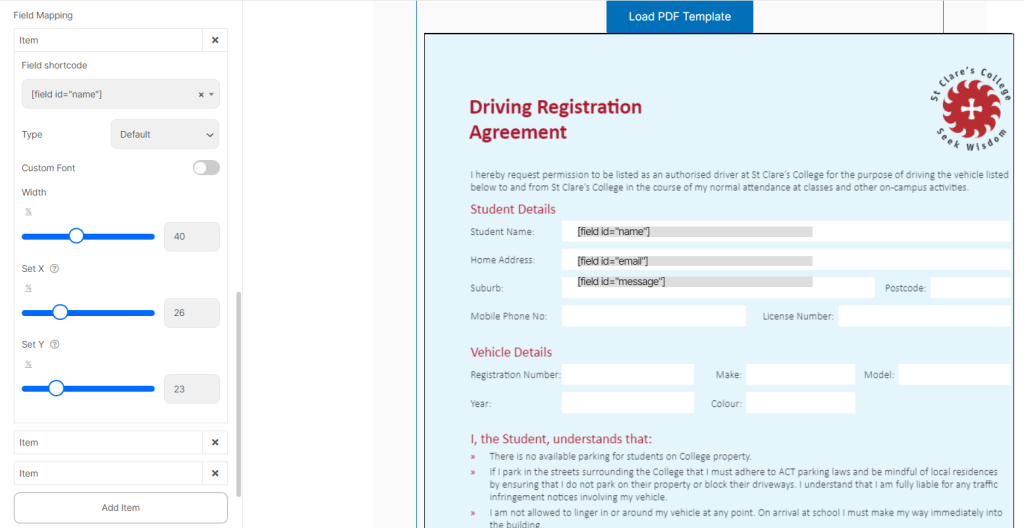
Click “Add Item” to make additional fields optional and adjust the position of the fields just by mapping.
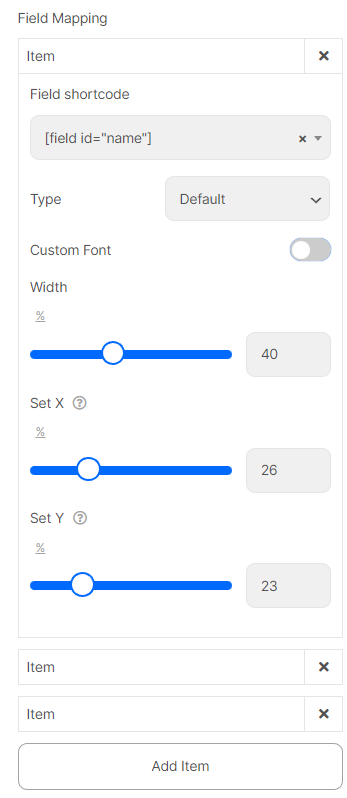
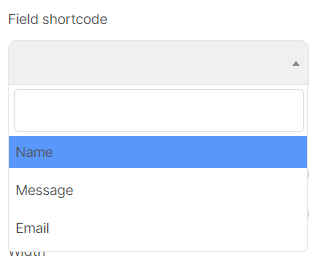
Field shortcode: click on field shortcode to map form fields, and you can choose the appropriate field via a dropdown list.
The options display the Labels or field shortcodes of form fields.
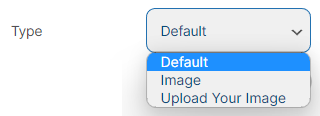
Type: There are three options
- Default: If your field is relevant to the text types (except the Image Upload/Signature field type)
- Image: When you want to map an Image Upload/Signature field in your form.
- Upload your Image: in case you want to directly upload an Image to this PDF Template and customize its location. For example, a logo or signature
For “Custom font”: a function to apply your local fonts/Google fonts and style them with this function.
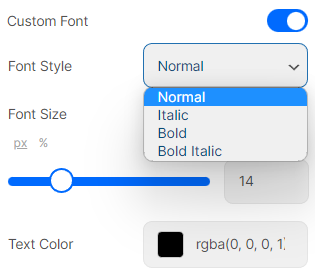
In order to use normally your local language characters, please add a PDF font that is appropriate to your language.
Example: ä, ö, ü, Ä, Ö, Ü or ອີກປະການໜື່ງ
→ Then go to dashboard > Piotnet Forms> PDF Custom font > add new > upload/add font.
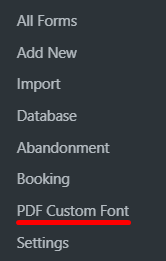
For instance: I added a font with TTF file: NotoSansLao as below

Notice: don’t forget to extract the Zip file and just upload for TTF file.
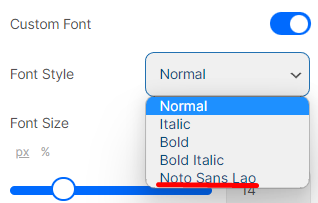
After that, your imported font will appear in “Font Style”
For locating field shortcodes in the PDF Template area, you can customize 3 elements below:
- Width: The width of the entry data, if it is long enough, it will automatically break down to the next line
- Set X: adjust the position of the field following X-ASIS with the percent unit.
- Set Y: adjust the position of the field following Y-ASIS with percent unit. The maximum of Y-ASIS (Set position Y) is 89.8%. If not, the field will be mapped to the next page.
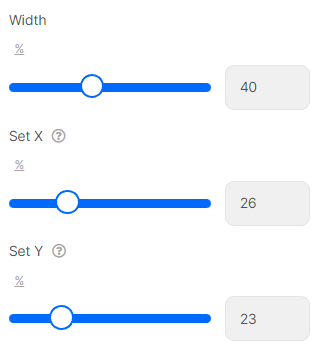
Illustration for the custom layout function
Summary of Current Custom Layout Limitations
At the moment, the PDF Generator can perform basic manipulations when enabling the Custom Layout function. You may meet some unexpected cases if you do not follow our list below:
- This function currently works with PDF versions under 1.5.
- PDF Generator works fine with 1 page and A4 size when mapping fields
- When mapping, the maximum of Y-ASIS (Set position Y) is 89.8 %. If not, the field will be mapped to the next page.
- In addition, PDF Generator is not available to display from right to left. (Right-to-left script)
Notice: when you have a long form and do not have a need to customize the position’s fields, all fields will be automatically ordered and broken page.
———-
See another valuable feature of Piotnet Forms: Multi step form

