
Constantcontact Integration
We integrated with Constant Contact as an Action After Submit. This is a feature to store customer information and provide customer management, automated marketing, enterprise development solutions, and departmental systems. To use Constant Contact, you need to perform the following steps:
Detailed tutorial to set up Constantcontact Integration
Connect Constantcontact keys vs Piotnet Forms
To get the API key and App Secret, you need to register the app here
-> Access the Dashboard: Piotnet Forms > Constant Contact > fill in “API Key” and “App Secret” information.
Note: Please enter “Redirect URL” exactly the same as the “Authorization Redirect URL” in Dashboard.
-> Save the information and click “Authenticate Constant Contact”.
Create a form and customize feature
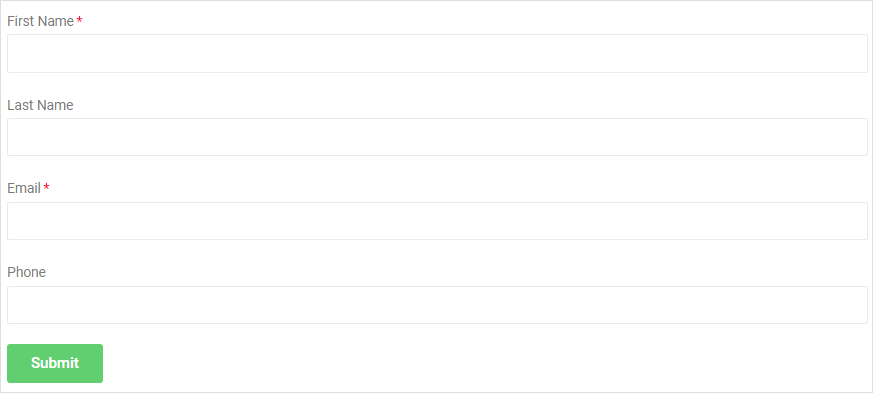
Create a form for collecting necessary information.
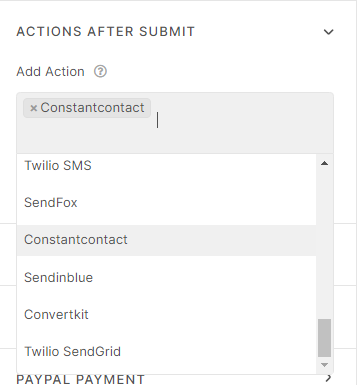
Edit Submit button > Action After Submit > Add Action > Constant Contact
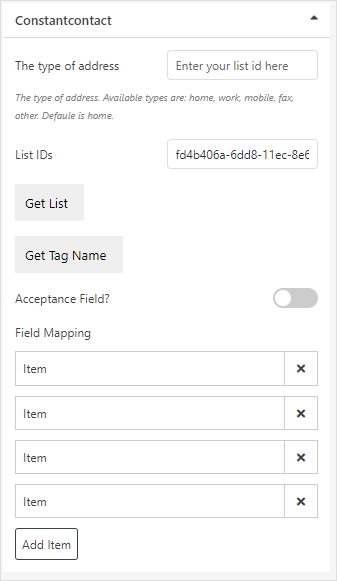
Scroll down to Constantcontact part
-> Click GET LIST to get LIST ID values, then enter into List IDs
The type of address: set the types of address that you need to save. Available values: home, work, mobile, fax, other.
-> Click GET CUSTOM FIELD to get custom field values for mapping.
Acceptance Field: Set up options for your customers if they want to receive your promotion emails. Create Acceptance field > Copy and Paste Shortcode into Acceptance Field Shortcode.
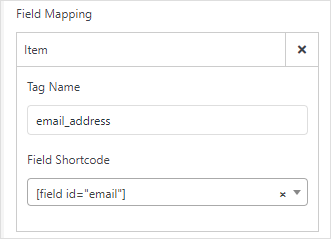
Mapping Fields to Corresponding Shortcodes
Copy and Paste ‘email_address’ form GET CUSTOM FIELDS to Tag Name
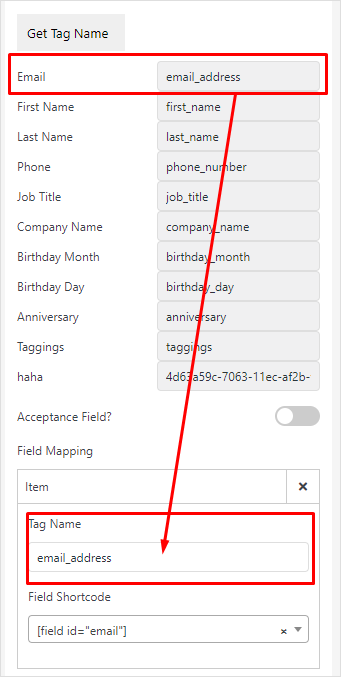
Copy and Paste shortcode from field to Field Shortcode
Note: Mapping is mandatory for saving form values. For Taggings field, to perform mapping for more than one tag, you need to use comma for separating the tags.
After mapping, now you should check the working of your form to make sure things work well.