Sendy
Piotnet Forms integrated with Sendy by API port method. To use the feature, you can synchronize your customer’s information for maximizing the effectiveness of your marketing campaigns.
To use the feature, please follow the steps below:
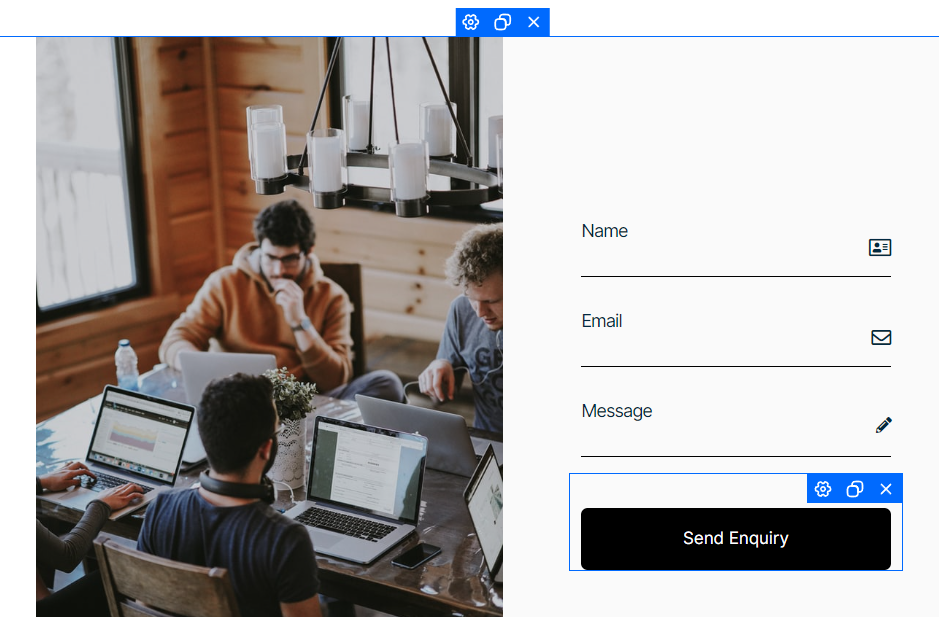
Create a form
Create a form with the necessary information on the admin page
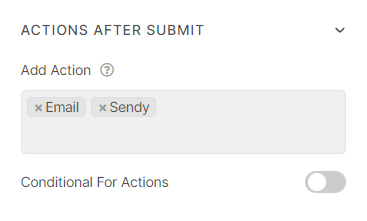
Set Sendy Action
Click Submit Button, select Action After Submit -> Add Sendy Action
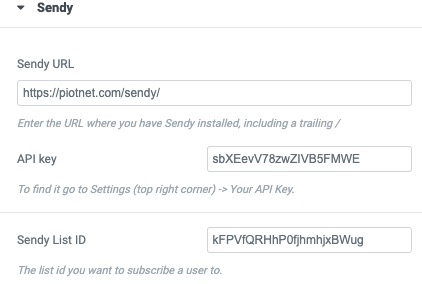
Then scroll down to Sendy Action Part -> Enter the URL where you installed Sendy (include the “/”) and API key, Sendy List ID
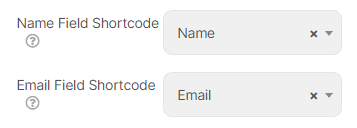
Mapping both of Name and Email Field Shortcodes is a mandatory
Embed the GDPR/CCPA Compliant Shortcode if your form contains this field.

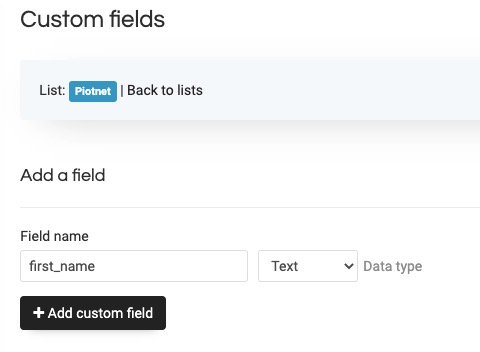
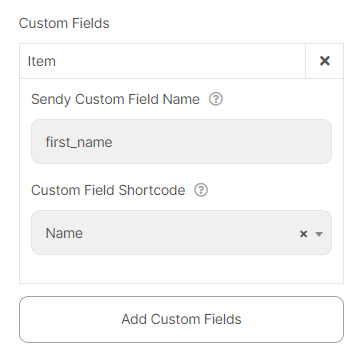
If you have Sendy custom fields, you are able to map them to Piotnet Forms