Webhook Slack
Webhook Slack allows you to create a form where customers can send messages directly to an assigned Slack channel.
Make sure that you know how to use Slack before performing the following steps to set up your Slack Integration.
Tutorial to integrate Webhook Slack
Step 1: Register a Slack account
Firstly you need to have a Slack account. Here is where you can register: https://slack.com/
This is the Slack account which you will use to receive customers message
Then assign the Slack account to receive customers message. The default Slack Channel will also be added.
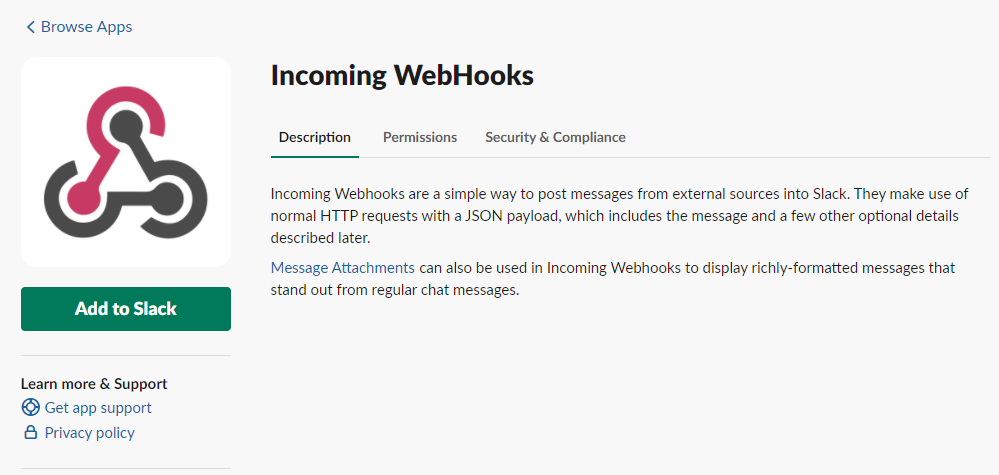
-> Install Incoming WebHooks and get the Webhook URL
-> Go to https://slack.com/apps/A0F7XDUAZ-incoming-webhooks/
-> Click “Add to Slack“
-> Select one of your exist channels or create a new one.
-> Click “Add Incoming WebHooks integration”
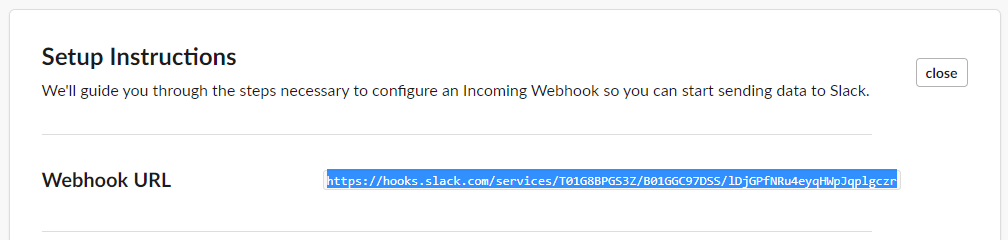
Now you will get a Webhook URL (You need to embed this URL to Piotnet Forms – Step 3)
Step 2: Create a form to collect necessary information
Create a simple contact form by Piotnet Forms. You can import one of our available demo templates
Step 3: Enable and config Webhook Slack
Edit the Submit Button -> In Action After Submit, choose “Webhook Slack”
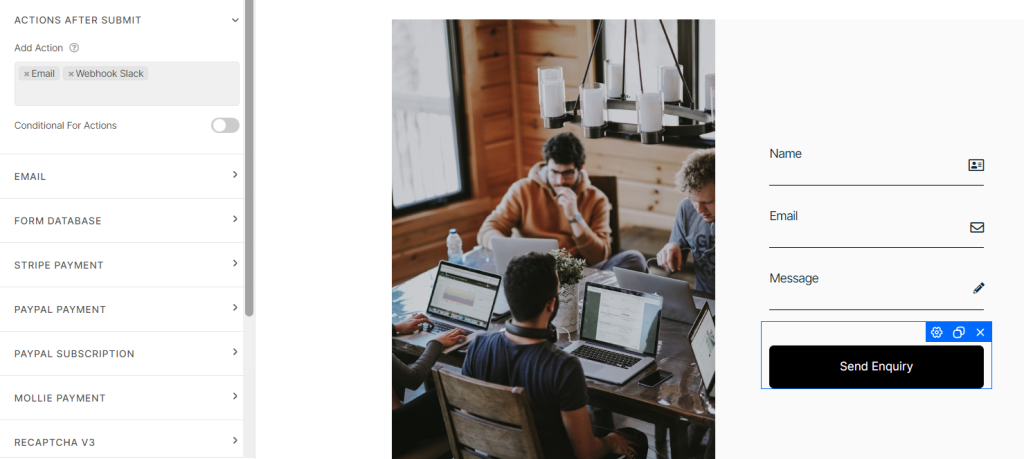
Webhook Slack Control Part would appear on the Action After Submit list. Open it to continue setting up.
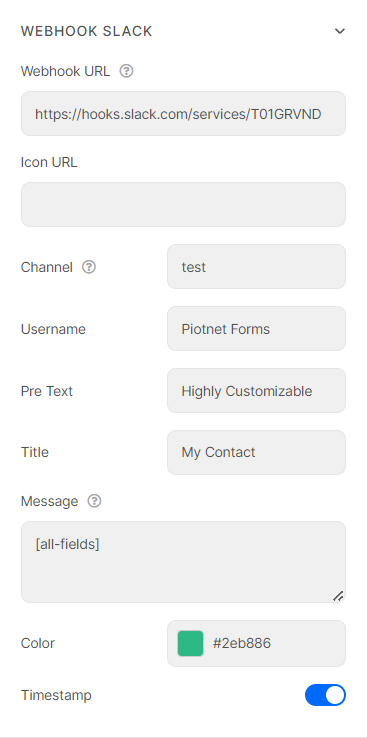
-> Embed the generated Webhook URL into the Webhook URL field in Webhook Slack Settting Panel.
- Icon URL – Set avatar for the sender. This avatar will represent all messages submitted from this form.
- Channel – Choose channel on Slack to receive message. If you let this field being blank, message would be sent to default channel from Step 5.
- Username – Set username that will be shown as the sender.
- Pre Text – Customize the text before the message.
- Title – Set title of the sender.
- Message – Select contents which you want receive from the form.
Timestamp – Enable to receive actual submitted time. - Color – Select border color of message.
Step 4: Test your Webhook Slack
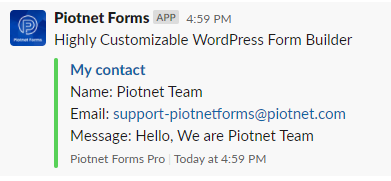
You can make a test with Webhook Slack by submiting a message from the form. If everything is correct, you would receive a message in your Slack channel which is similar to image below.