Advanced Applications
To optimize your form, you can refer to a couple of advanced applications.
Advanced applications (tips and tricks) when using Piotnet Forms
#1 How to remove unfilled results in email?
When sending data to your email action, users probably do not fill out all the fields of the form. It may affect your content mail.
There are two ways to achieve this goal:
Enable “Remove Empty Form Input Fields” Function in Other Options (Submit Button)

By default, all form fields are sent via shortcode: [all-fields]. Want to customize sent fields? Copy the shortcode that appears inside the field and paste it above. Enter this if you want to customize sent fields and remove line if field empty [field id=”your_field_id”][remove_line_if_field_empty]

#2 How to validate the required function with Select field, Image select field, or other option fields?
#3 How to hide elements on front-end?
In some certain cases, you desire to hide a couple of fields or other widgets on front-end.
Click on that element > Advanced Tab > Responsive > Enable

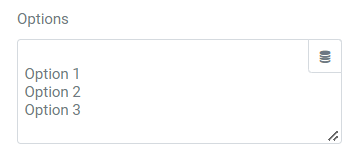
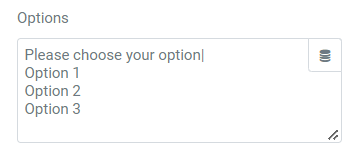
#4 Placeholder for Options Field Types
How to validate the required function with Image Select, Select, or other option field types.

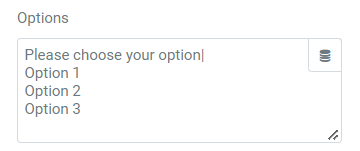
You can refer to this topic source.
#5 How to pull form options from a CPT? (ACF Relationship)
#6 How to set up multiple target email addresses depending on custom field values?
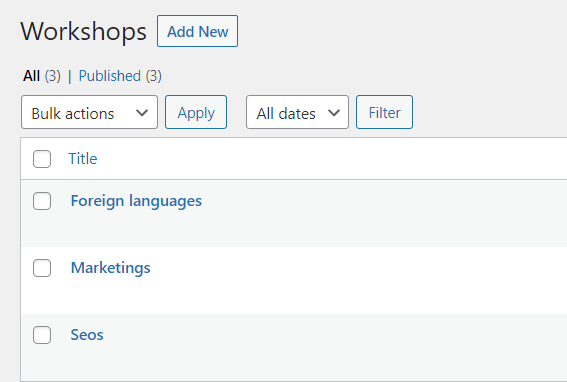
Imagine that you have a Workshop Post type that includes upcoming events. In these events, they have a standard form format in order for participants to register.
Depending on specific events, the form will be sent to different target email addresses.
Instead of creating manually multiple forms for posts, you just need to create only a standard form. This article will show you to manage it.
Tutorials
Step 1: Set up a specific Post Type
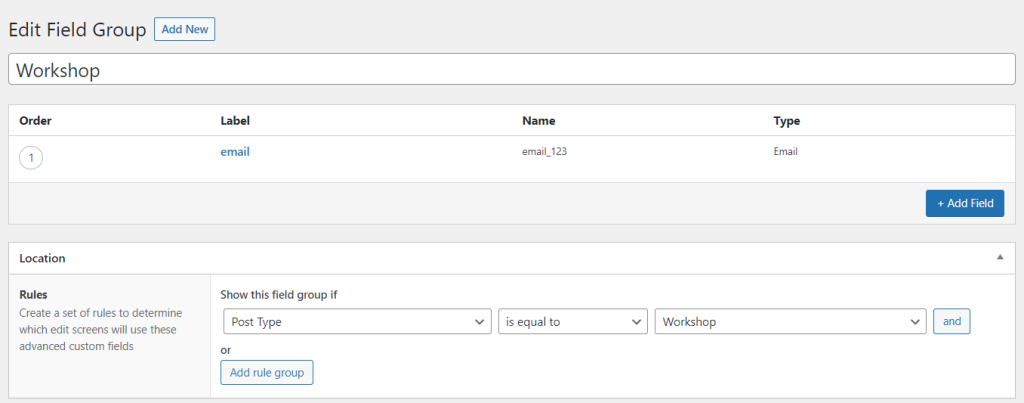
Set up an Email Custom field type (Mandatory) and a corresponding condition rule.
You can apply Post, ACF, Metabox, JetEngine, Pods, and Toolset Custom field.
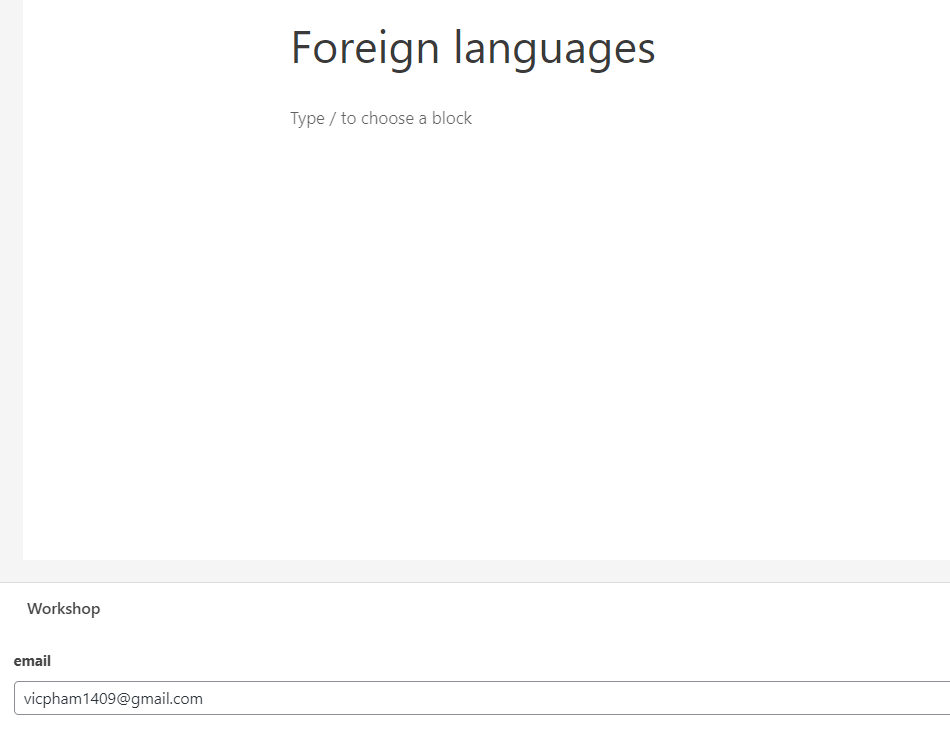
Complete the email data input for all posts of this Post Type.
Step 2: Create your own form by Piotnet Forms

Step 3:
Use a hidden field as a connection bridge in your form.
Implement a hidden field in your form.
Edit the Hidden field > Default Value > Dynamic Tags > ACF Field as in this demonstration > revise your email custom field name

Step 4:
Embed the shortcode of the hidden field to the Email box (Action After Submit)

Step 5:
Embed this form shortcode to anywhere (post type for this above example) or apply en masse this form for your single template/post/page.
#7 Event: After submitting Piotnet Forms
#8 How do redirect data to another page?
You can enter this in the redirect within submit button: http://your site URL/?a=[field id=“abcd”] (if you have multiple fields, you can add “&”)
In the form that you want to get data. You create a field and add dynamic field value to get the value of the shortcode
E.g. You want to get parameter value from URL https://piotnetforms.com/?utm_source=a
Set up this format in default value {{request | parameter:a}}
#9 How to set Age Limit for any element in forms?
In this video, Piotnet Forms will instruct how to set Age-Limit (Age Restriction) for any element or whole form in WordPress Forms.
There are some pro features that we apply in this tutorial:
1. Image Select Fields
2. Date Field
3. Calculated Field
4. Conditional Logic
5. Responsive
By setting the minimum age to 18, you probably limit the responses from children or teenagers.
On the other hand, you can classify options depending on age levels.
For example, Your company wants to release a Job Application Form and you do not want people who are more than 40 or less than 16 years olds


