Woocommerce One Page Checkout
Tutorial to add WooCommerce One Page Checkout
Step 1: Create your own form
Create a simple form and add WooCommerce Checkout Widget on it
Step 2: Add Product ID and Price field shortcode
We made a general emulator product to link this checkout platform, that’s why filling out Product ID is mandatory. This product must to have a regular price > 0
The Price field will be overwritten the price which you set in WooCommerce
The result
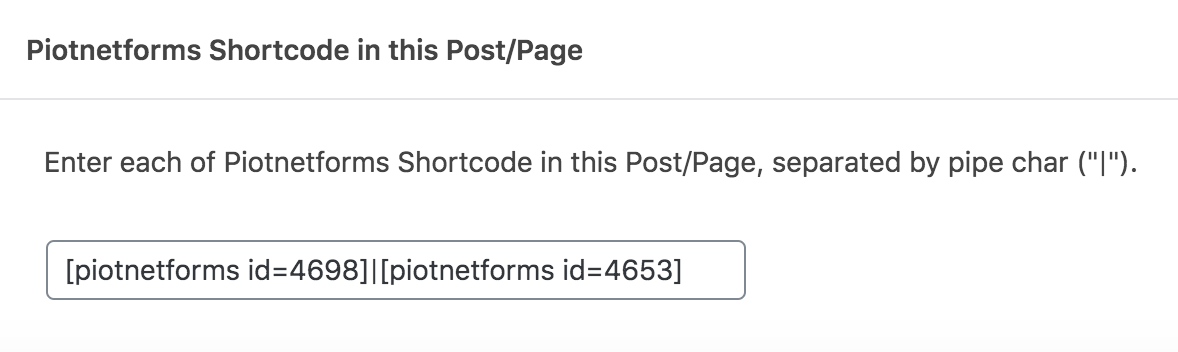
NOTE: If you put this Form Shortcode to a Post / Page, you have to Edit Post / Page > Piotnetforms Shortcode in this Post/Page > Enter each of Piotnetforms Shortcode in this Post/Page, separated by pipe char (“|”)
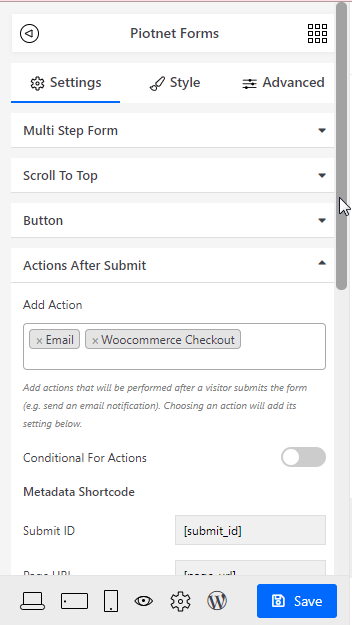
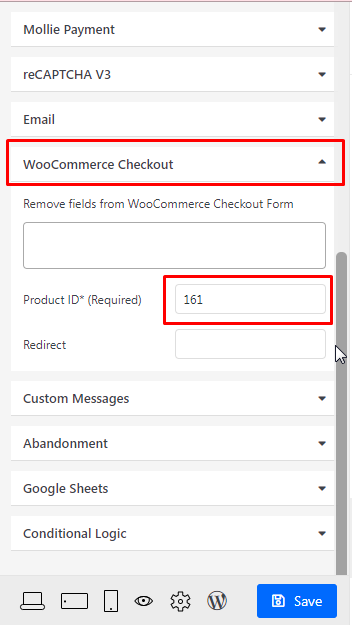
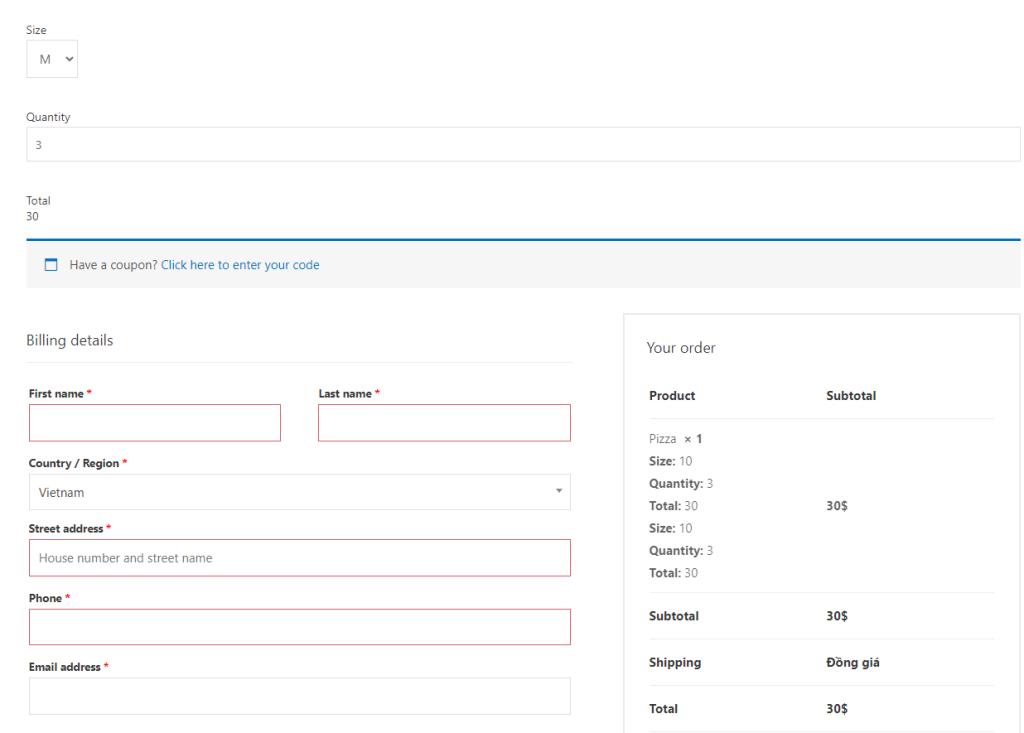
If you use WooCommerce one page checkout in the multi-step form, please add WooCommerce checkout in the action after submit and add product id like the below image: