Twilio SendGrid
Piotnet Forms integrated with Twilio SendGrid by API port method. Using the feature, you can synchronize your customer’s information for maximizing the effectiveness of your marketing campaigns.
To use the feature, please follow the steps below:
Step by step to configure Twilio SendGrid integration
Get an API Key
Login to your SendGrid account and go to Settings > “API Key”
-> Click Create “API Key”
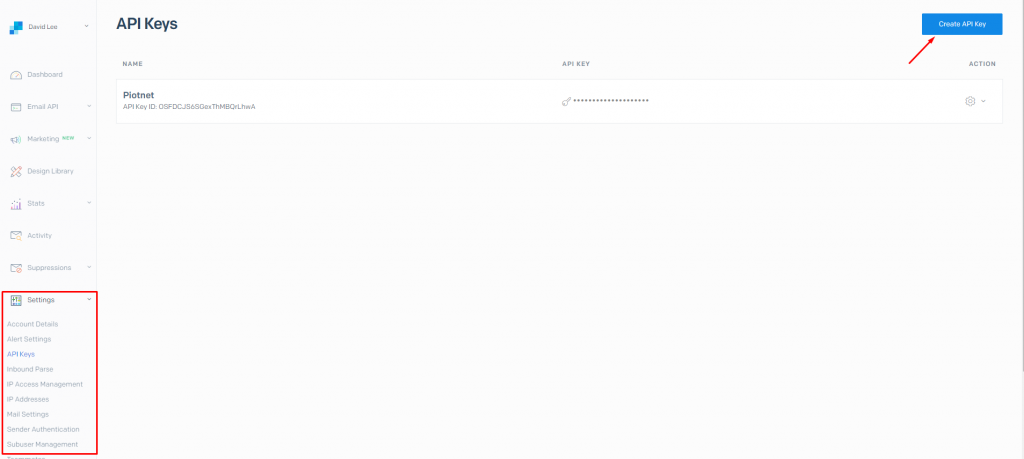
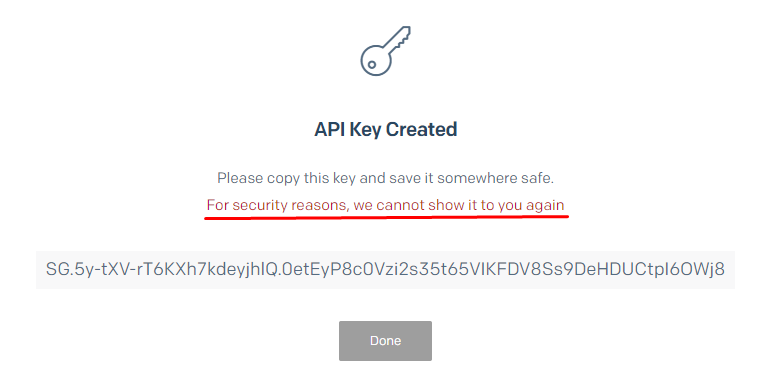
Copy the API Key and save it somewhere safe
Configure Twilio Sendgrid action
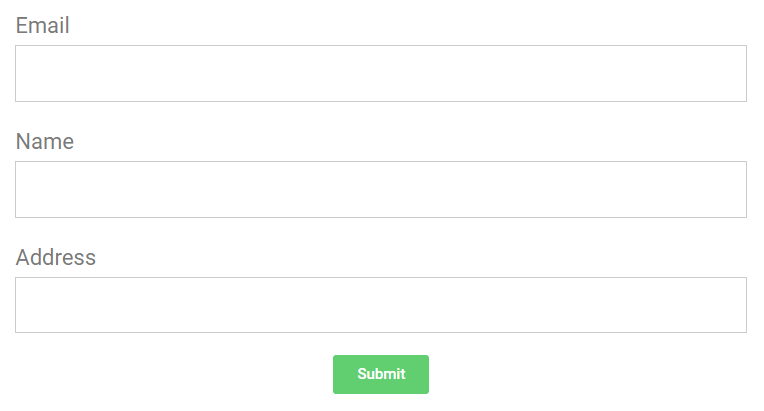
Create a contact form to collect necessary information
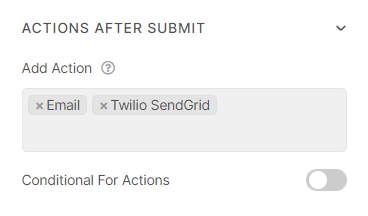
Edit “Submit button” -> select “Action After Submit” -> Add “Twilio SendGrid” Action.
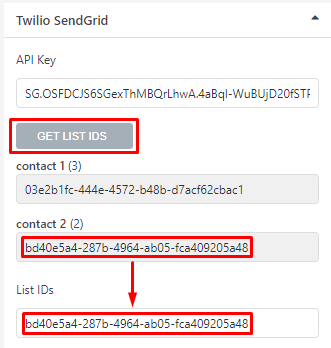
Scroll down to “Twilio SendGrid” part -> embed your API key
-> Click “GET LIST IDS” and then copy/paste the Contact ID to List IDs.
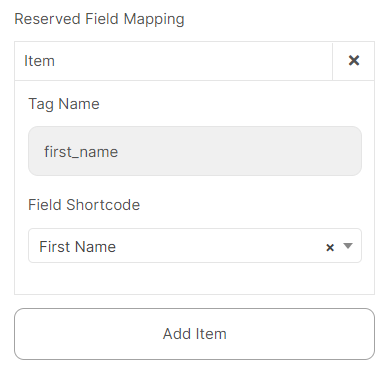
Select the Email Field Shortcode. You can use email to Add or Update a Contact

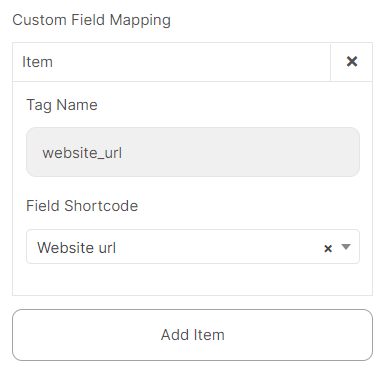
Click “Add Item” and map in sequence the contact information by Tag Name and Field Shortcode