Tips and Tricks
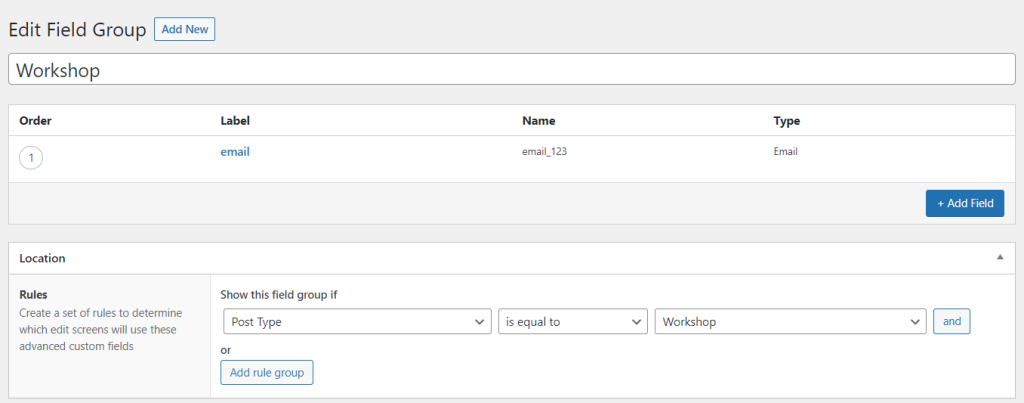
Make sure that you do not have the same Field ID in a form. If not, please use your License to send a ticket to our support email: [email protected]
After that, we could attend to this matter as soon as possible.
Please inspect your hosting company firstly, maybe your Website is not allowed to send the email.
You may verify with your hosting provider whether your site is permitted to send the email or not.
Inspect SMTP setup or use an SMTP plugin.
For more information, please reach to Forms not sending emails
In order for Google Map API to work, please make sure that the billing is enabled for your Cloud project. Please refer to this documentation here
In order to use normally your local language characters, please add a PDF font that is appropriate to your language. Download your font here
Then go to dashboard > Piotnet Forms > Custom font > add new > upload/add font.
Notice: just apply for TPF File.
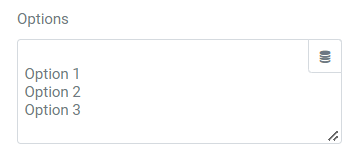
In many cases, you desire to use the same values for options to calculate.
For instance: you have a select field with 5 options below:
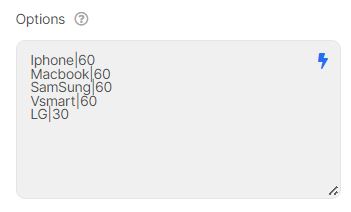
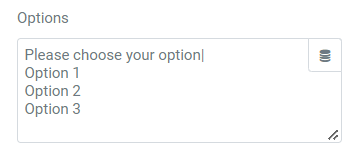
Your Form absolute will not work properly with 4 same issues as in the example.
Solution: Implement alphabet characters right behind the same values. You can perform calculations with a letter appended to the numerical value.
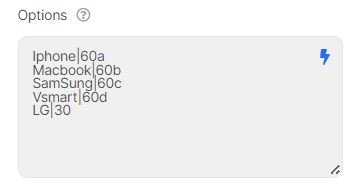
Notice: This solution could apply to field types: Select, Radio, Image Select, Checkbox, and Select Autocomplete.
At the moment, PDF Generator can perform basic manipulations when enabling the Custom Layout function, our Developer Squad has been enhancing this feature in near future.
When using the PDF Generator Custom Layout function, you may meet some unexpected cases if you do not follow our list below:
+ PDF just works fine with 1 page and A4 size when mapping fields (Custom Layout)
+ This function currently just works with versions under 1.6. Maybe your PDF Template File is not appropriate to the version of Piotnet’s Forms. You may check your version here and convert the PDF file to our required version by using this one
Notice: when you have a long form and do not have need to customize the position’s fields, All fields will be automatically ordered and broken page.
There are two ways to achieve this goal:
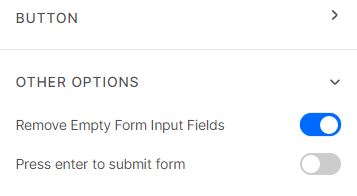
Enable Remove Empty Form Input Fields Function in Other Options (Submit Button)
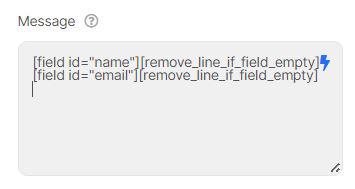
By default, all form fields are sent via shortcode: [all-fields]. Want to customize sent fields? Copy the shortcode that appears inside the field and paste it above. Enter this if you want to customize sent fields and remove line if field empty [field id=”your_field_id”][remove_line_if_field_empty]
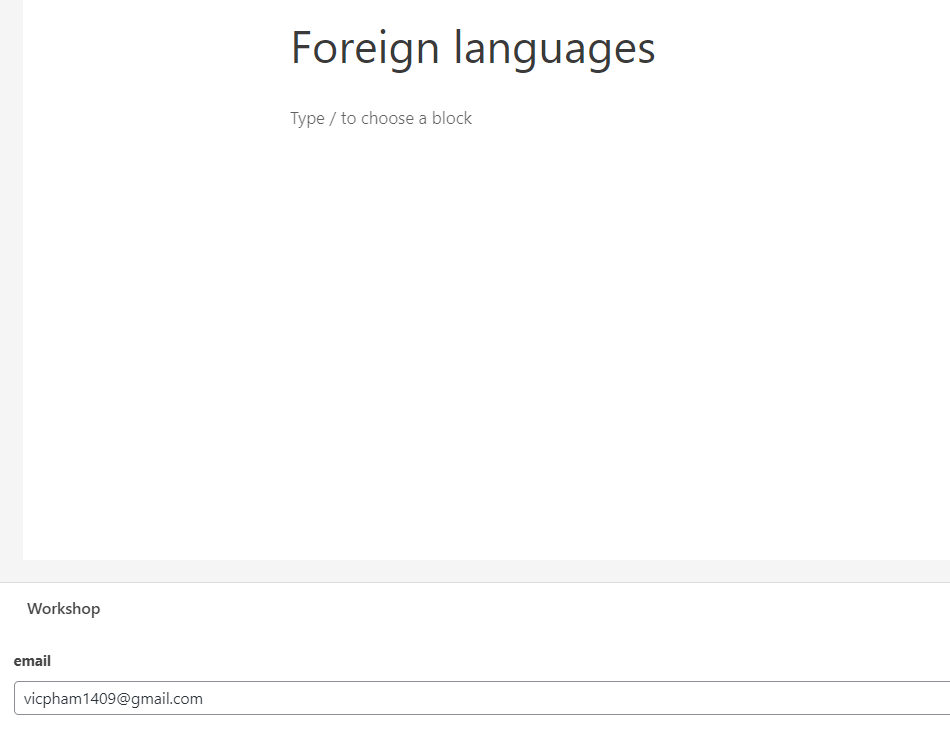
You can enter this in the redirect within submit button: http://your site URL/?a=[field id=“abcd”] (if you have multiple fields, you can add “&”)
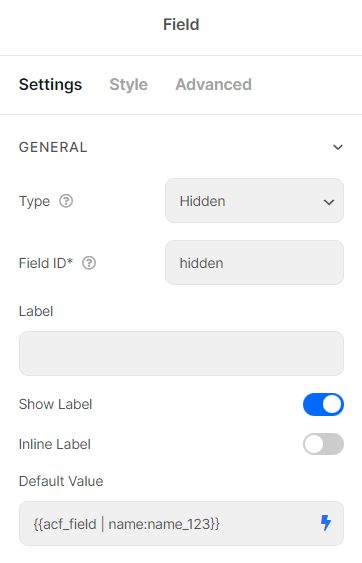
In the form that you want to get data. You create a field and add dynamic field value to get the value of the shortcode
E.g. You want to get parameter value from URL https://piotnetforms.com/?utm_source=a
Set up this format in default value {{request | parameter:a}}