Stripe Payment
Step by step to apply Stripe Payment
Connect Stripe payment vs Piotnet Forms
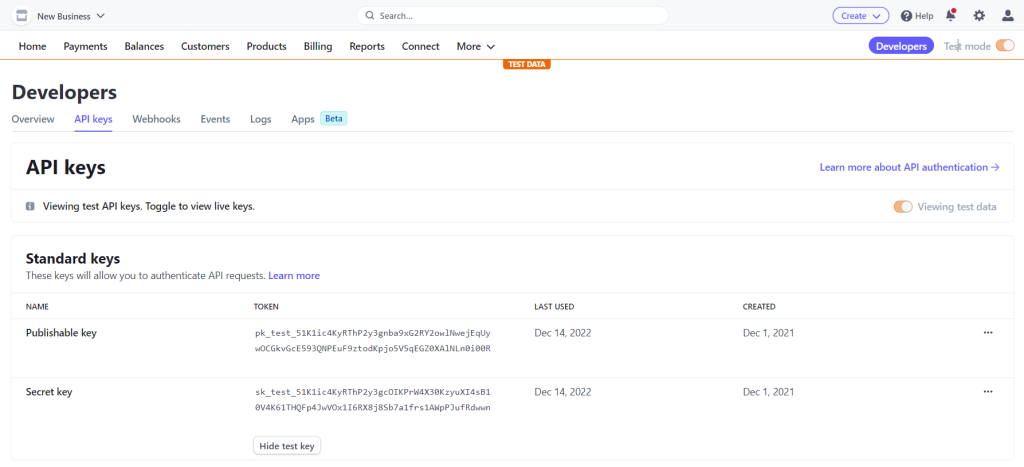
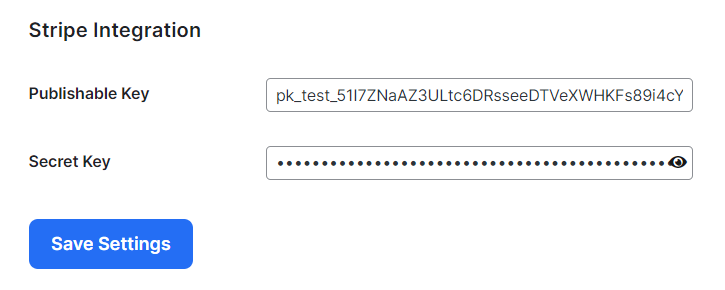
Access your Stripe Payment > API keys Category > copy both Publishhable key and Secret key
In the Website dashboard, go to Piotnet Forms > Settings > Integration > Stripe Payment
Fill out your Stripe keys.
Create a form
Add the fields you want to a blank form. Using Piotnet Forms, you can design a payment form in minutes by just dragging and dropping the one you need.
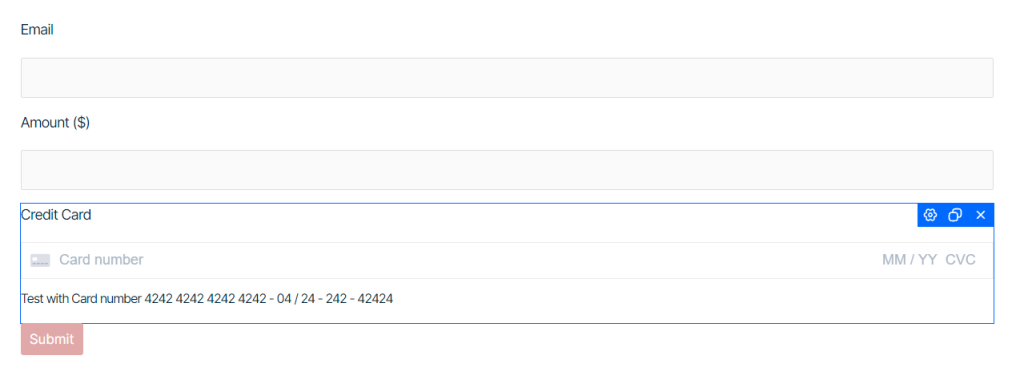
You have to create a Field with type = Stripe Payment
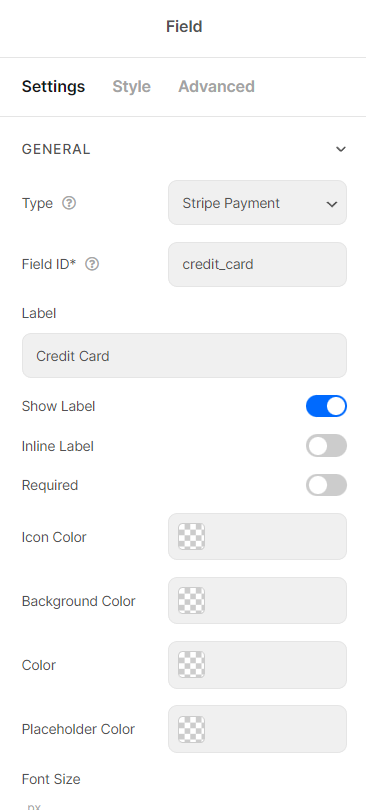
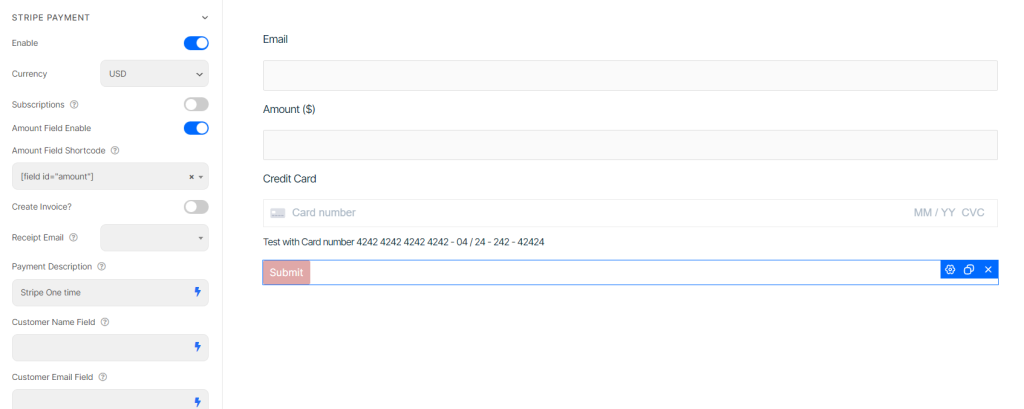
Click on “Submit Button” and scroll down to Stripe Section -> Enable this feature
Stripe payment with One-time method
By default, Stripe Payment is triggered as One-time method
Here you have two flexible options:
You can enter a fixed amount or set Dynamic Amount with Amount Field (Number or Calculated Fields)
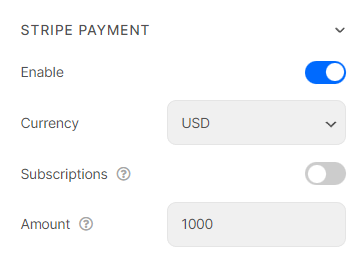
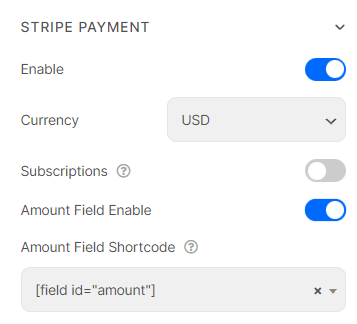
And complete mapping all the relevant fields
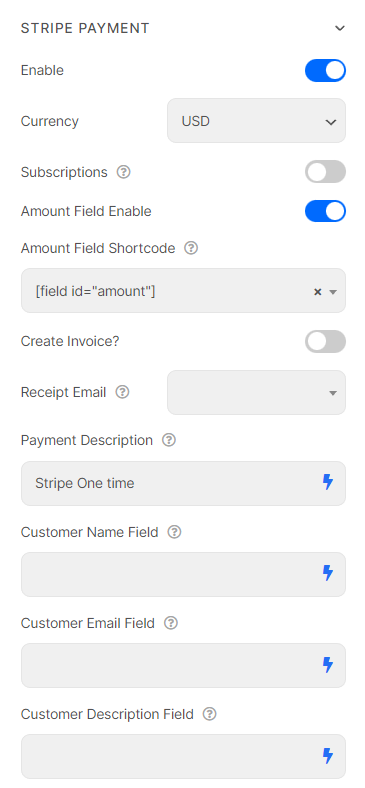
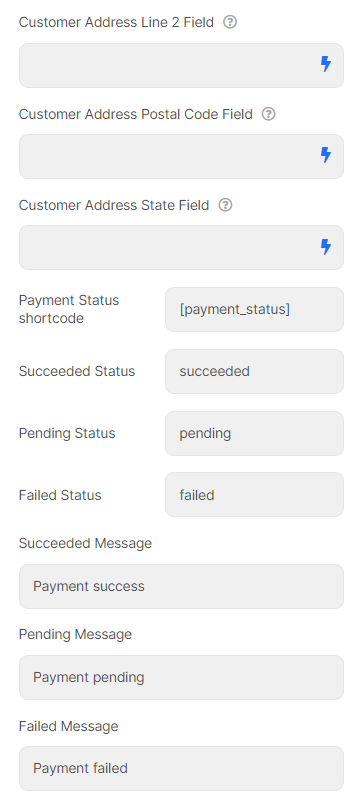
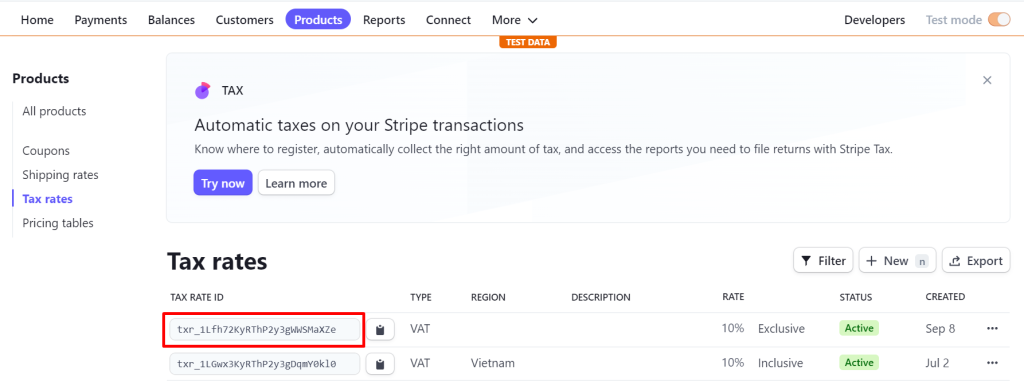
When enabling “Create Invoice”, a Tax ID box will appear.
It is the Tax Rate ID of Stripe Payment which is customized in the ratio percent.
Subscription Payment (Recurring Payment)
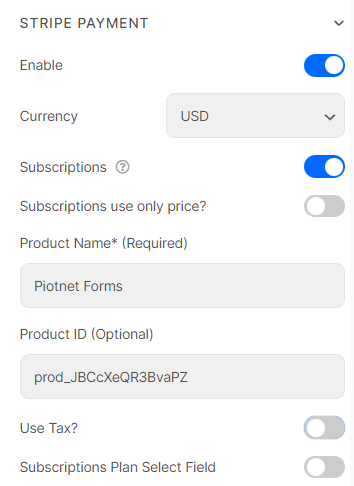
To set Subcription Payment (Recurring Payment), you can refer the following direction.
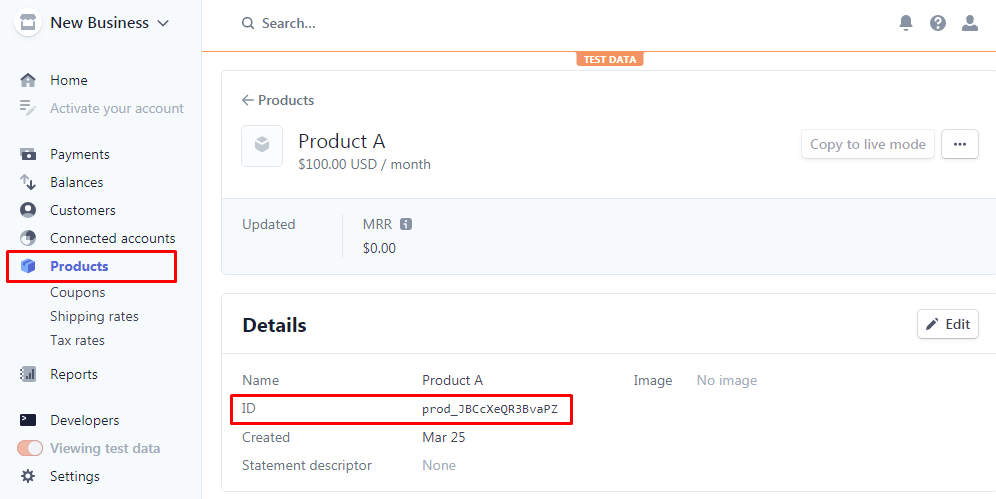
Set up a product and get the Product ID in your Stripe Payment account.
Then click the Product > Details > get ID > add ID to Product ID box:
Details Subscriptions settings:
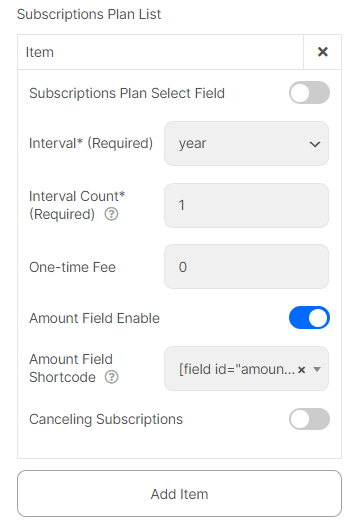
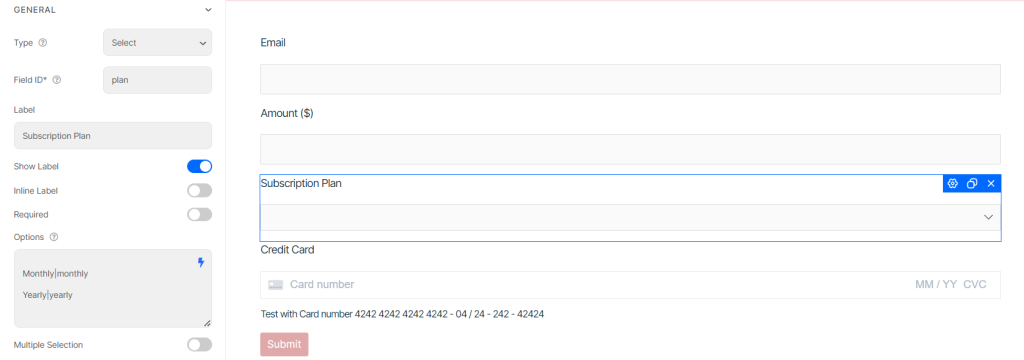
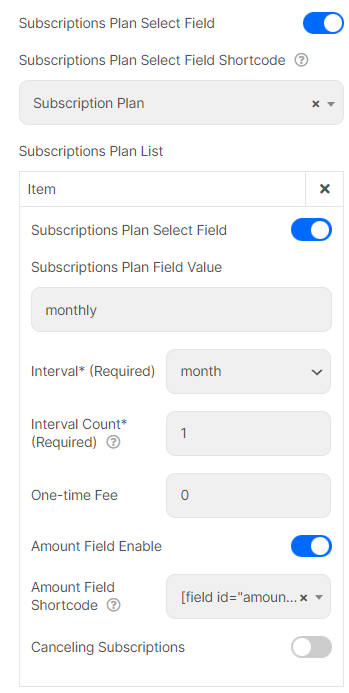
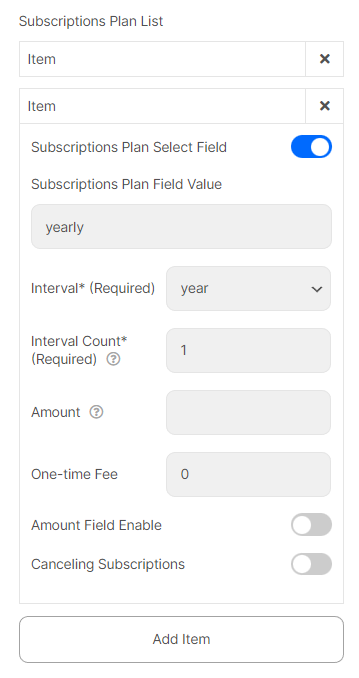
If you have multiple subscription plans and desire users to select an option, you have to create a Plan Field (Type field = Select) with options like this:
Monthly|monthly
Yearly|yearly
Then map this Plan Field into Stripe Payment Section as below
Multiple payment methods
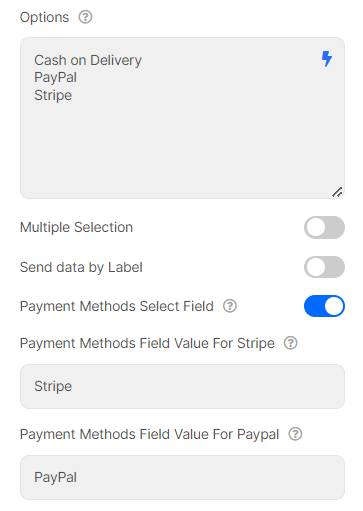
Furthermore, you can use multiple payment methods in a form, you have to create a Payment Methods field (Select, Radio, Image Select) with options like this:
Cash on Delivery
PayPal
Stripe
And then Enable Option “Payment Methods Select Field”
