Sendfox
Integrate Sendfox with API port method, you can synchronize user’s information for maximizing the effectiveness of your marketing campaigns.
To use the feature, please follow the steps below:
Connect Sendfox vs Piotnet Forms
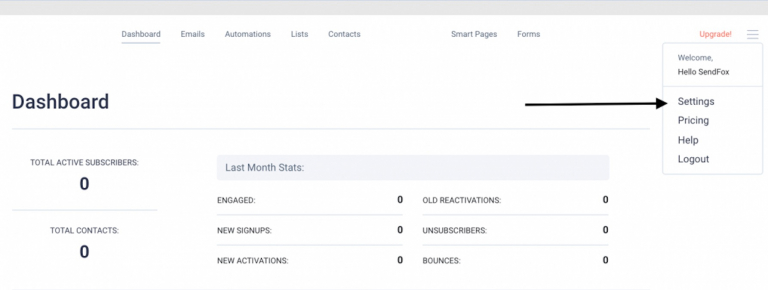
Log in to your Sendfox account and go to Settings
Then reach to API > Create new Token under Personal Access Token
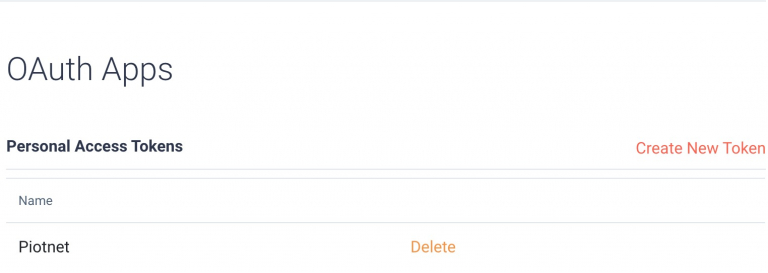
-> Copy the entire Personal Access Token
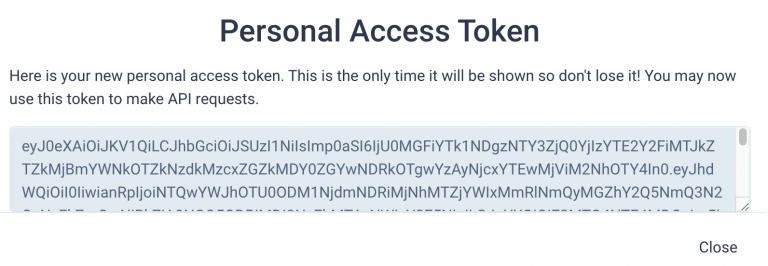
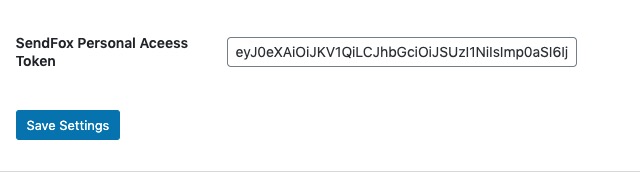
Please go to Dashboard > Piotnet Forms > Sendfox Integration > Enter Personal Access Token > Save Settings
Create a form and finalise the Sendfox action
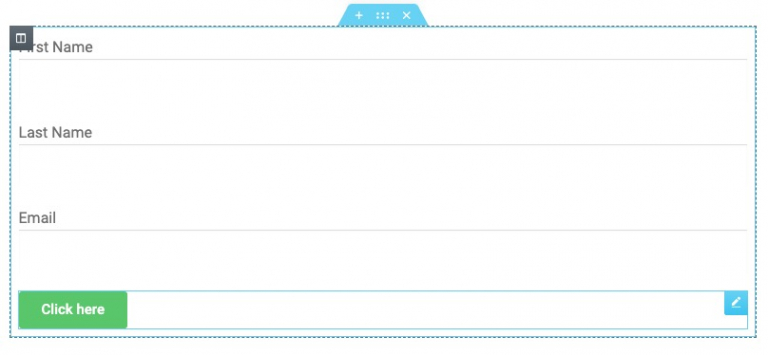
Create a form with the necessary information on the admin page.
Click Submit button, select Action After Submit -> Add Action -> Sendfox

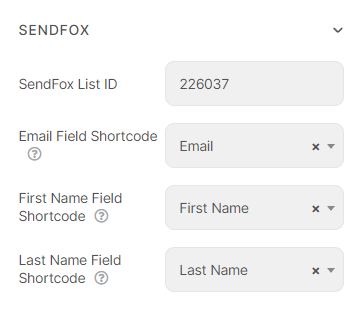
Copy the List ID from the URL you see above, like for us it is 226037

Then enter the “List ID” and map in sequence “Email Field”, “First Name Field”, “Last Name Field”