
Creating Your First Form
In this article we give you direction to create a form by Piotnet Forms step by step.
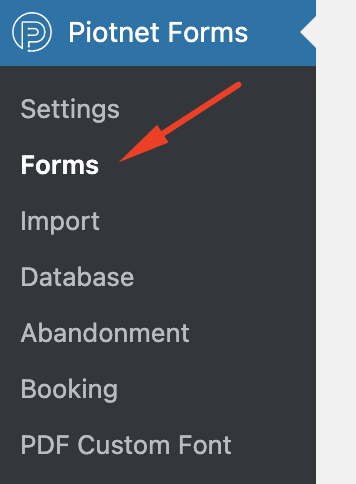
1. Adding a New Form
After installed Piotnet Forms, in your WordPress admin dashboard area, you will see Piotnet Forms. Click “Forms” to go the Forms Overview page.
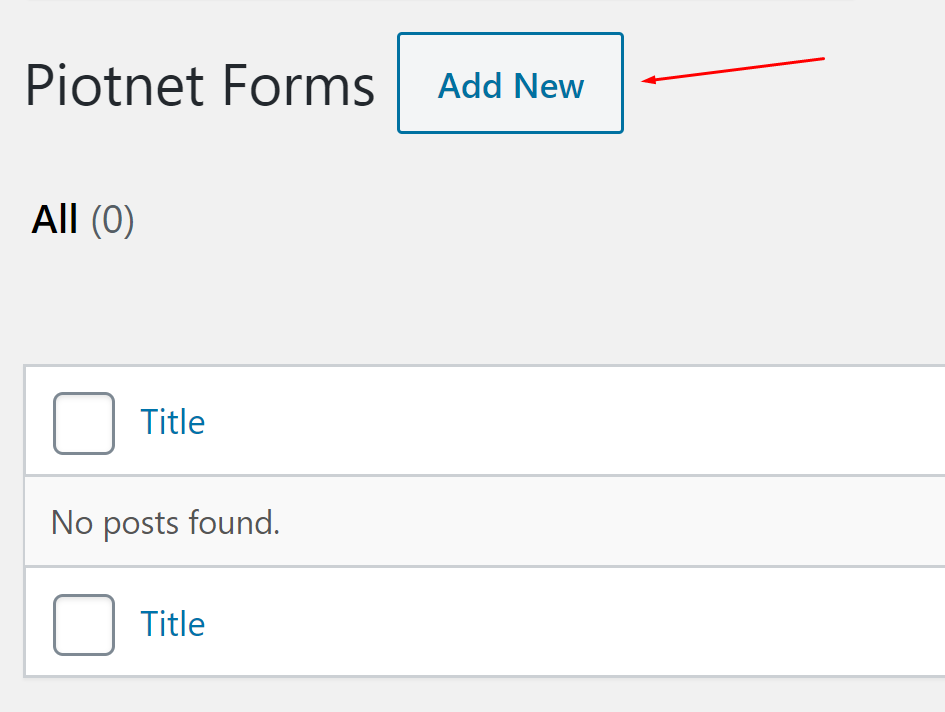
Click “Add new” to start adding new form.
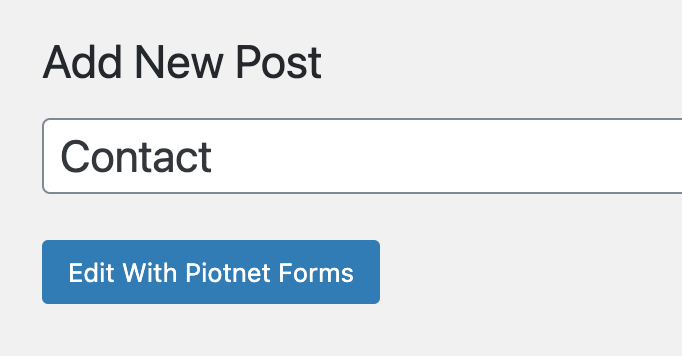
Enter a name for your form (such as “Contact”) > Click Edit With Piotnet Forms to launch the Piotnet Forms Builder.
2. Simple contact form
The left panel will show you the widgets available for you to use. On the right panel, you will see an editable preview of your form.
To add a Field and Submit button to your form, you can drag and drop Field, Submit widget from the left panel directly into the form preview.
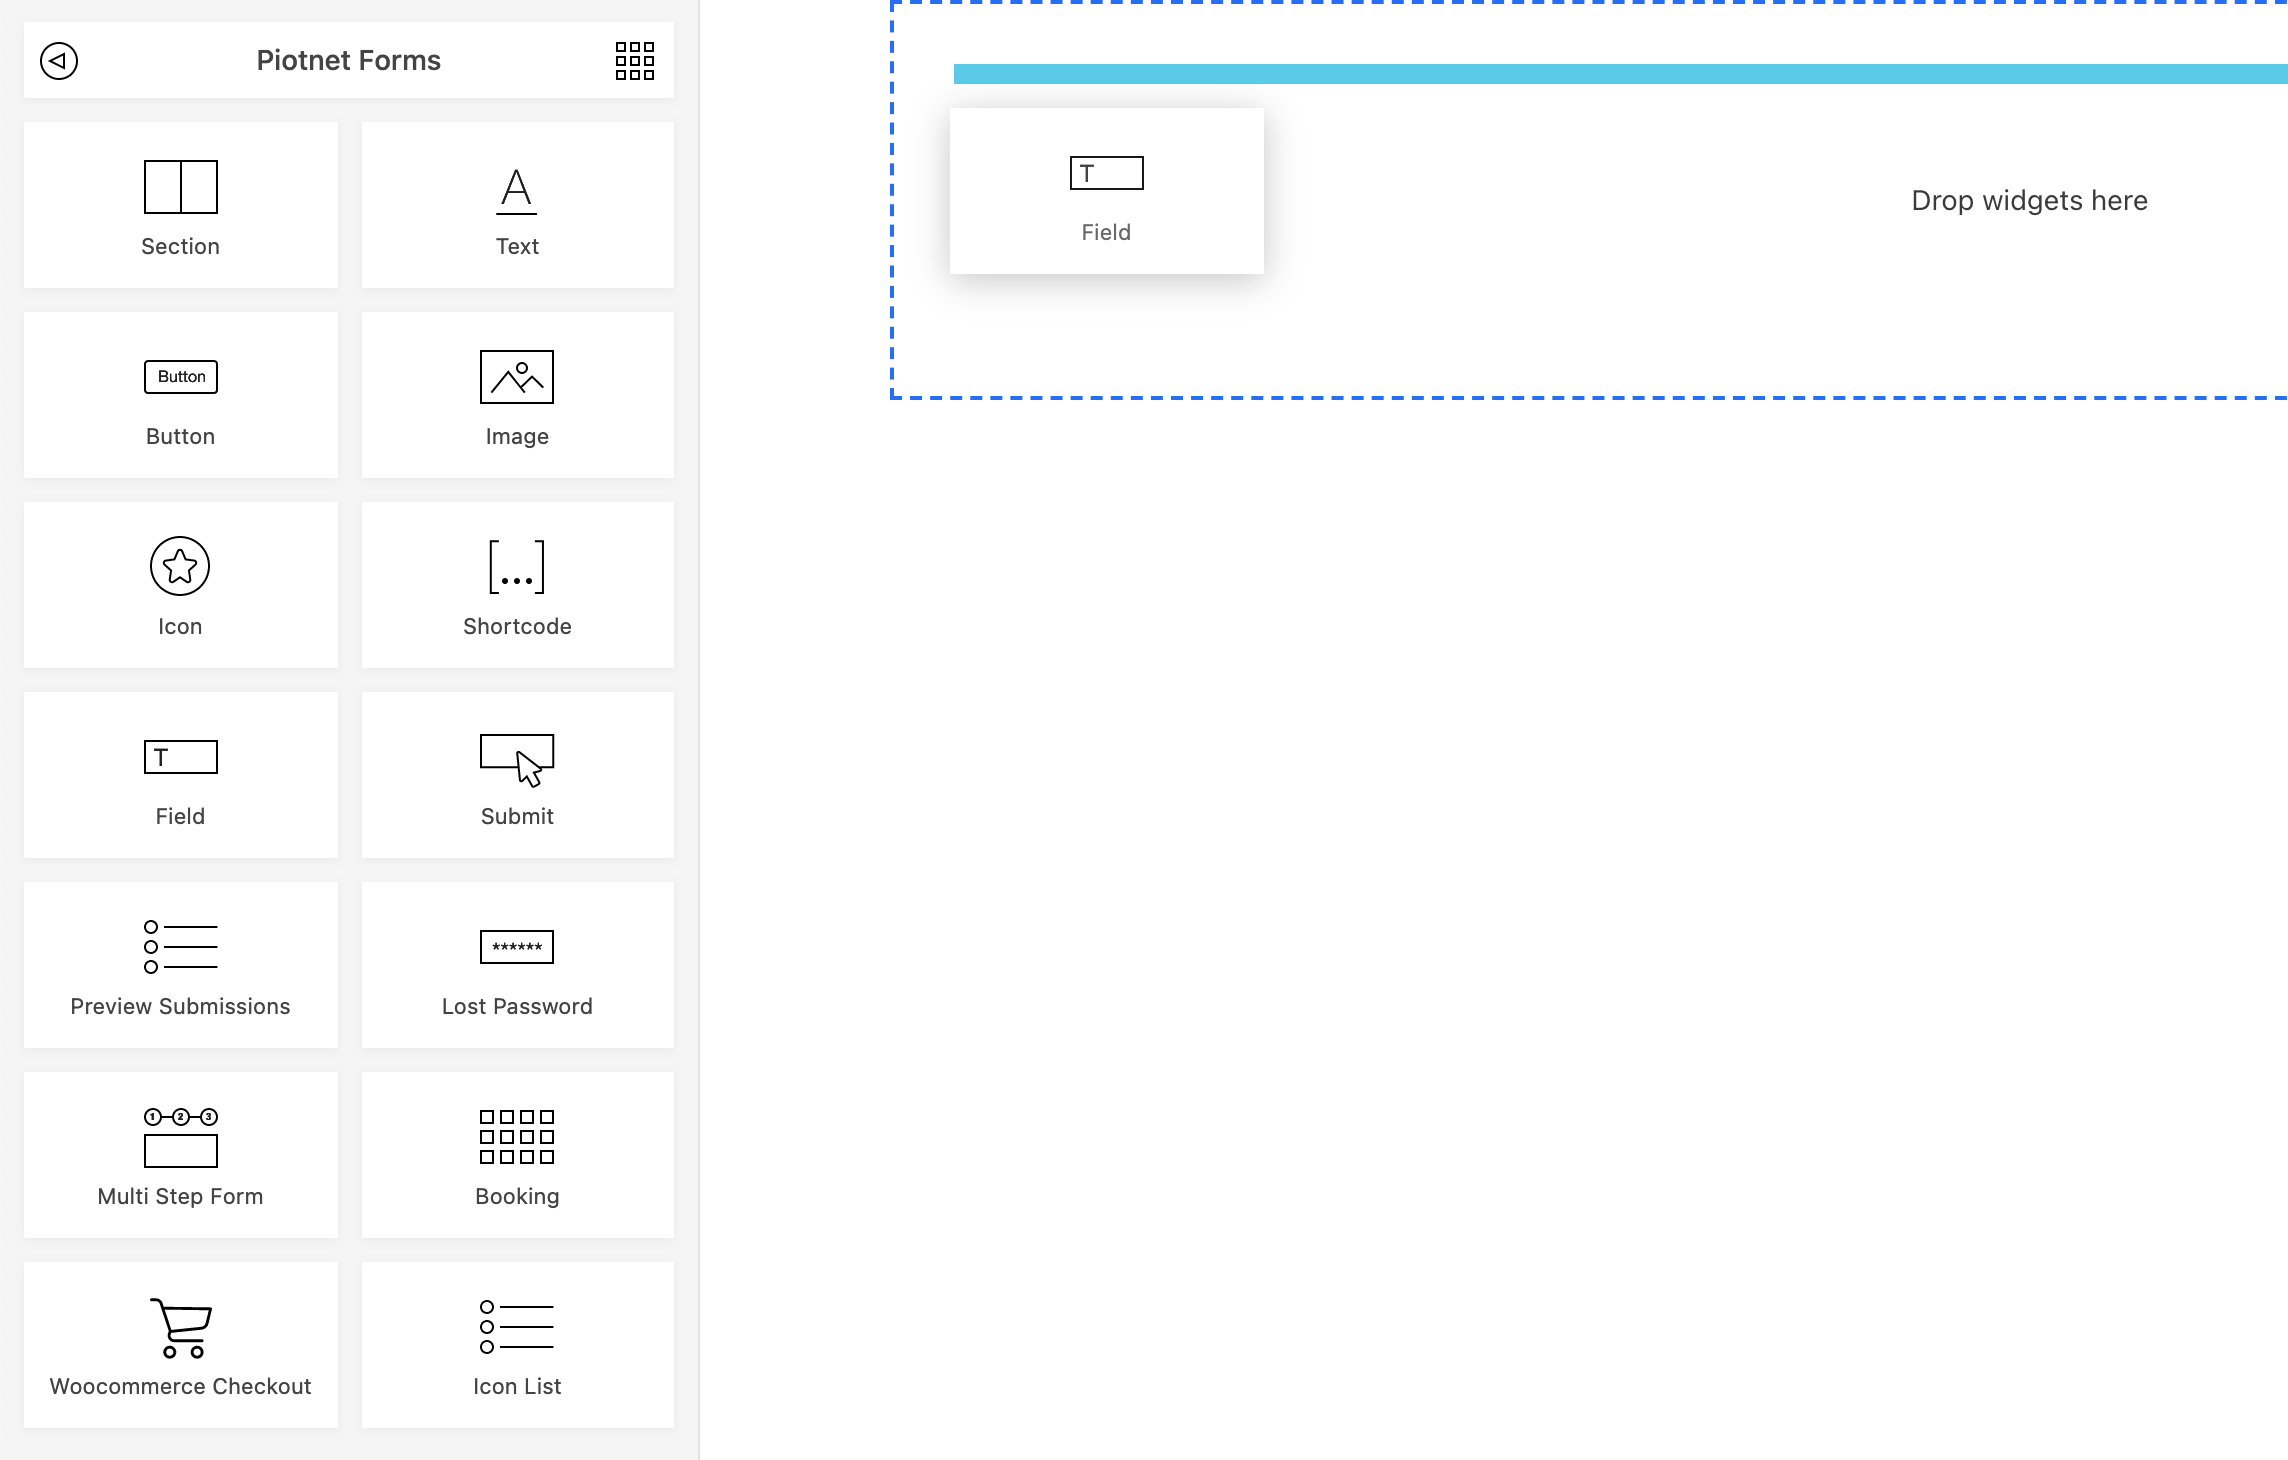
To view and edit the Field, Submit ( Widgets ) options, click on the widget in the preview screen. The widget options will then appear in the left panel.
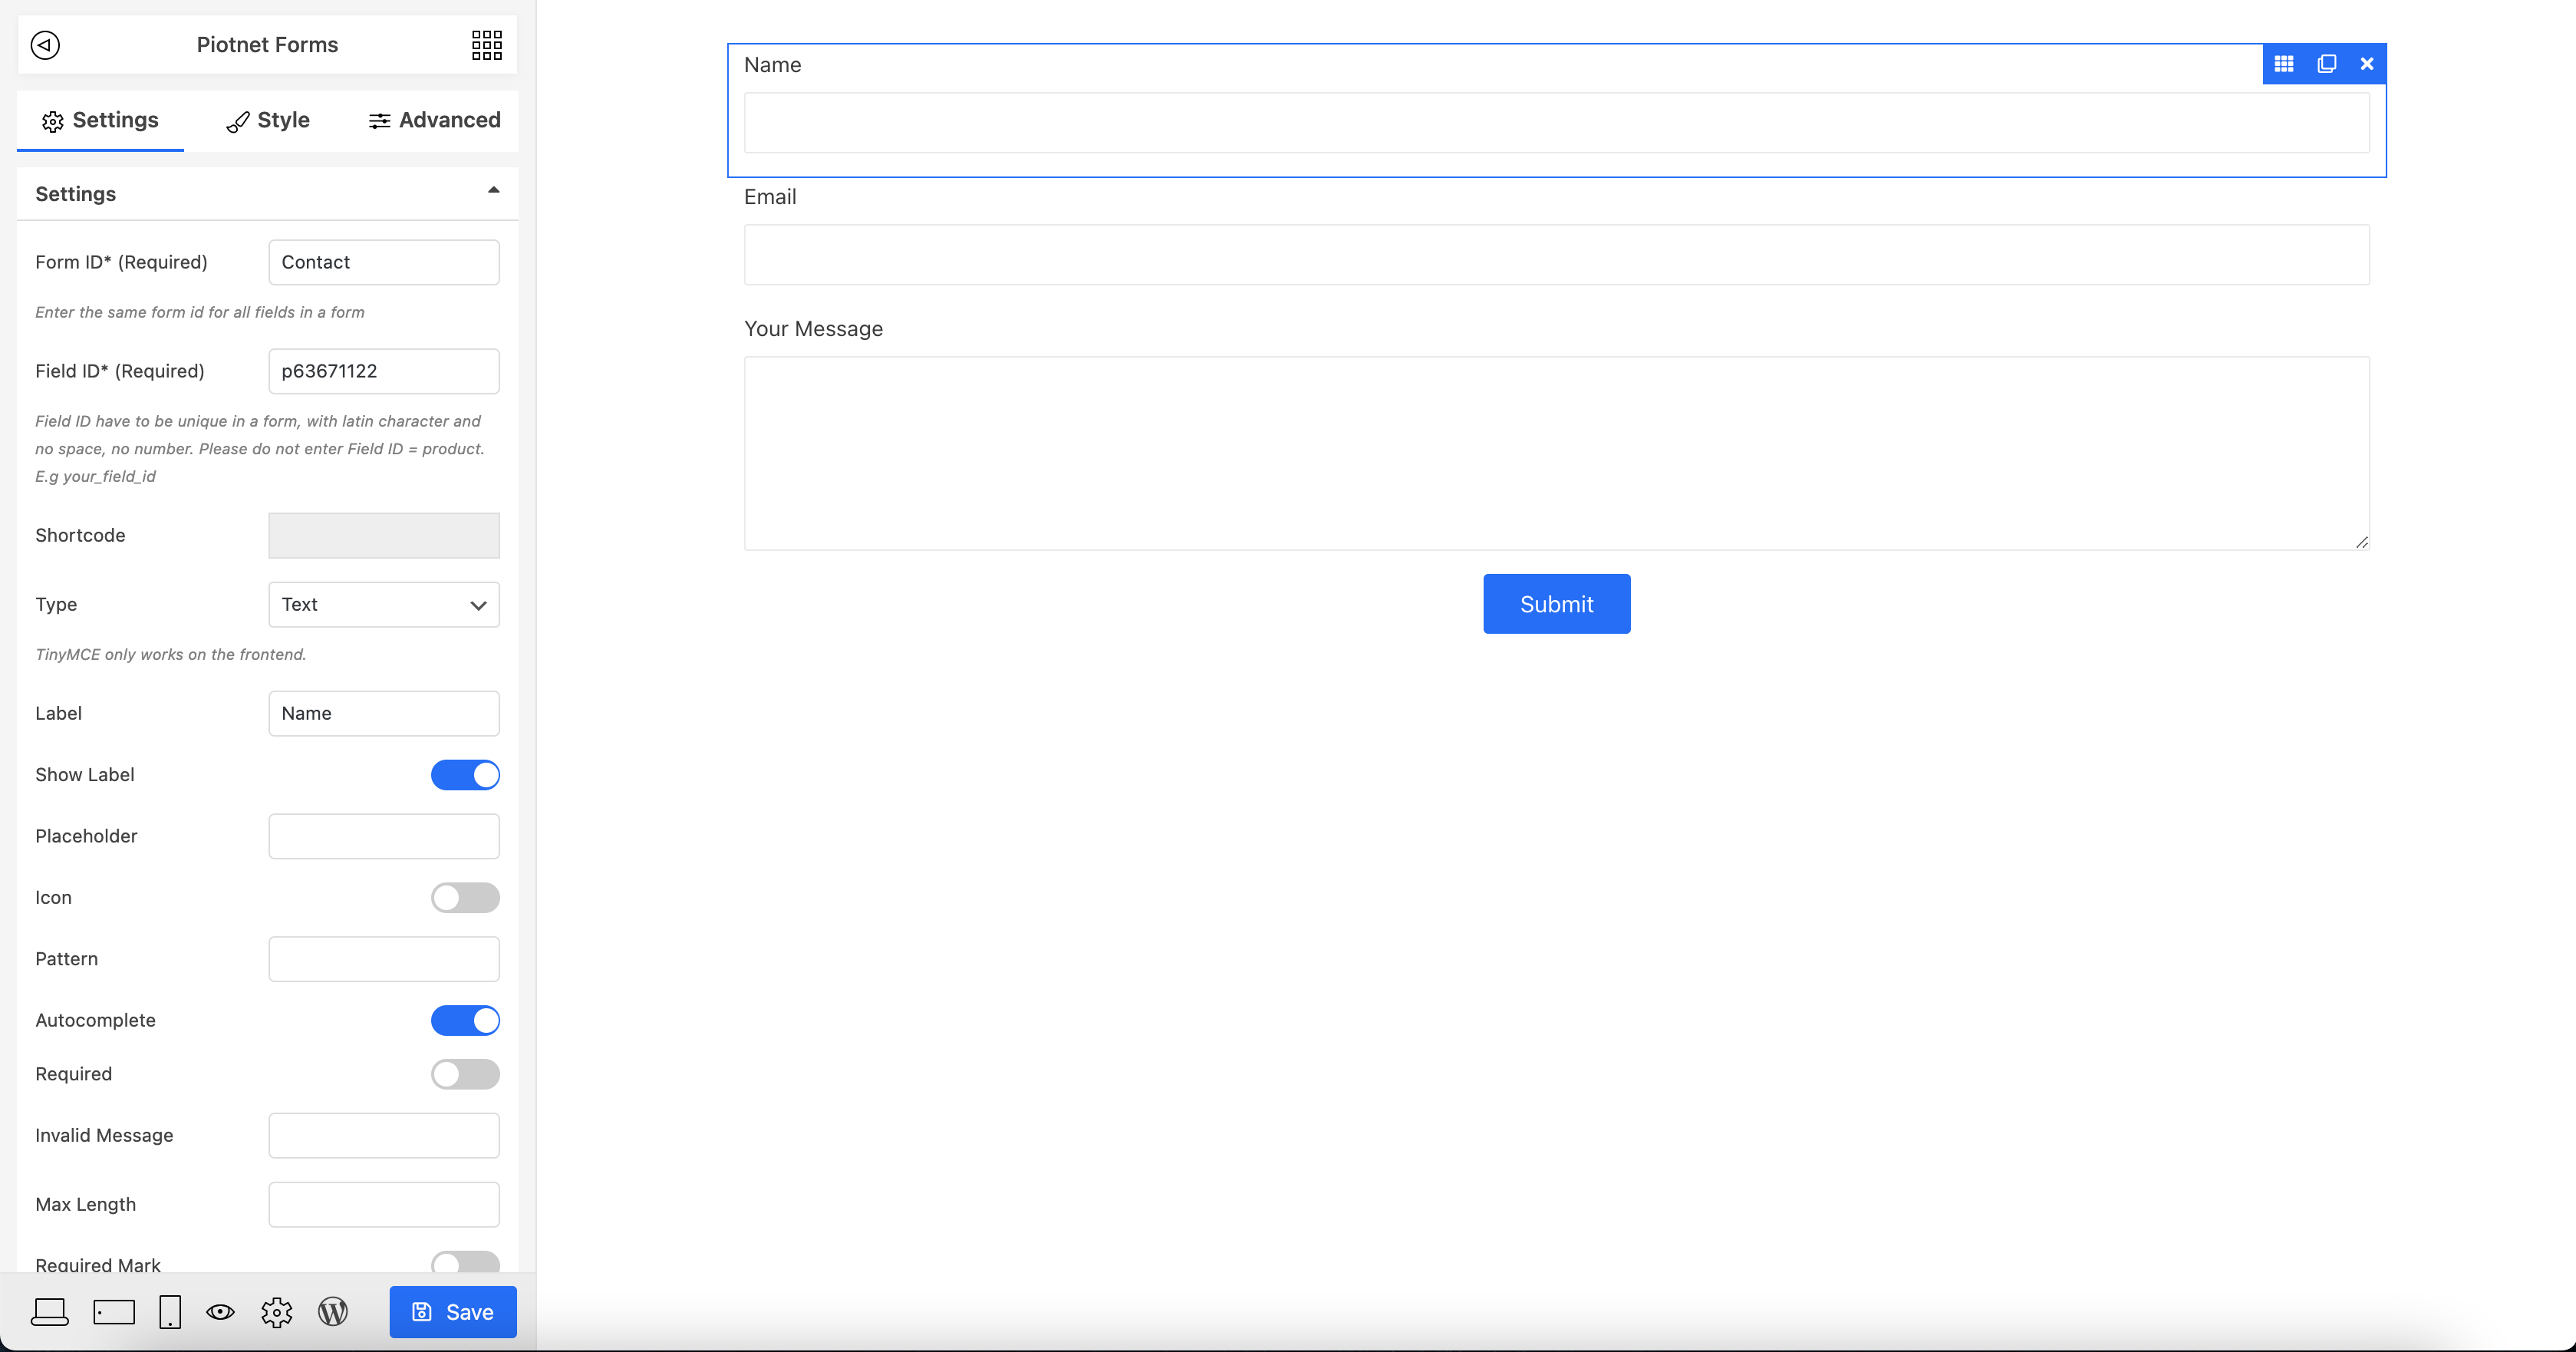
It is almost done now. Just press “Save” and your form is ready to be used.
3. How to use your form
Till now, you already created a new form in database. The form can be import into any of your posts or pages by shortcode.
Image below shows where you can get shortcode of created forms.
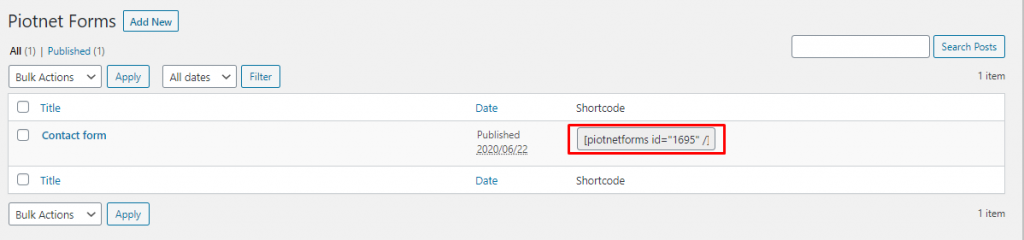
Just put the shortcode into content of your posts/pages so the form added and would be shown in frontend.
This three steps procedure is how you can create and apply a form by Piotnet Forms.
The example we made in this article is simple, but just follow the rule and you can build many complicated forms.